Build of a bass VI - juli/august/september/october/november/december 2012
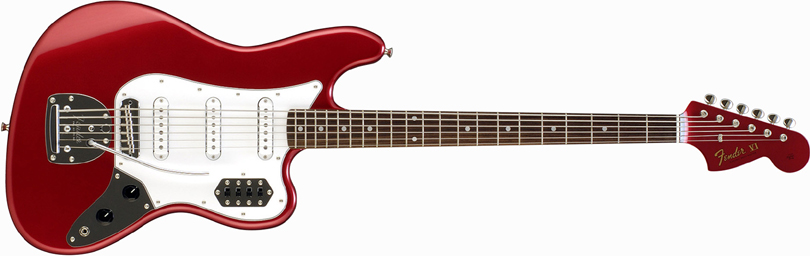
Here a picture of what I am trying to accomplish.
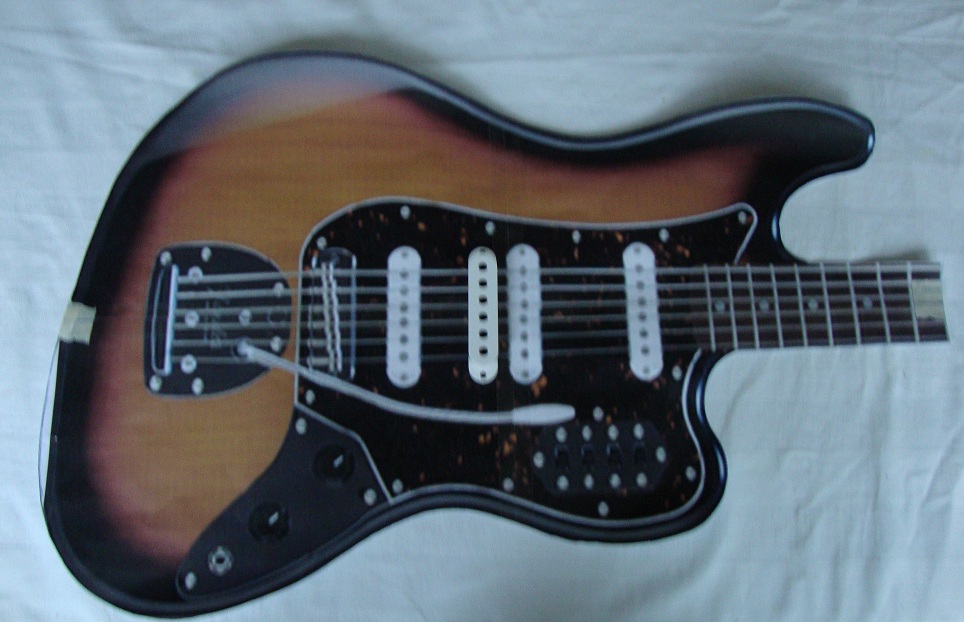
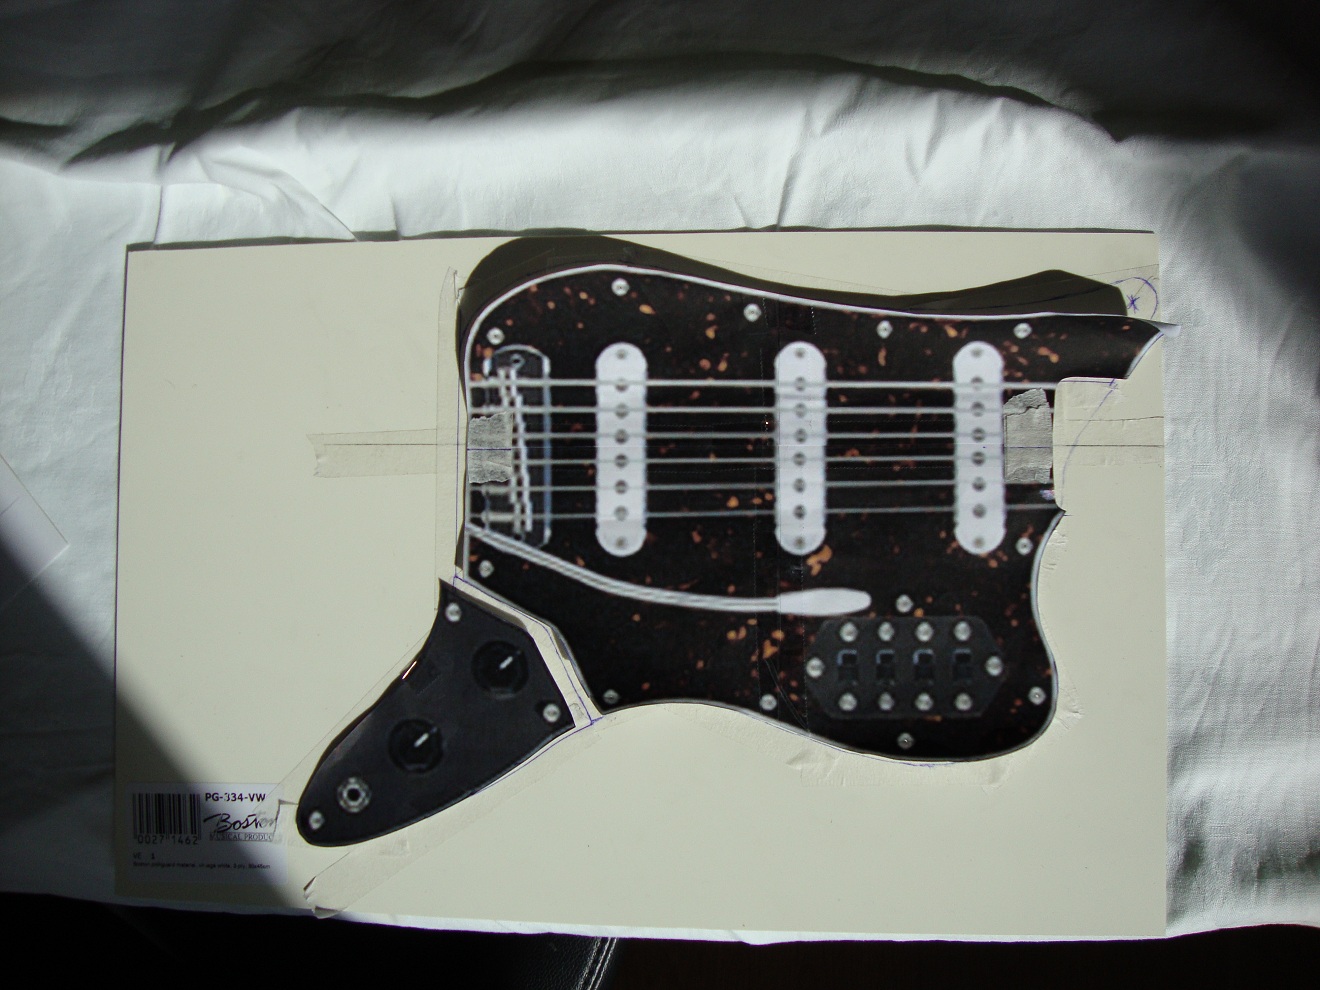
First I resized the picture of a bass VI of the Japanese website to the correct size. Now it has the right size and shape to make a template.
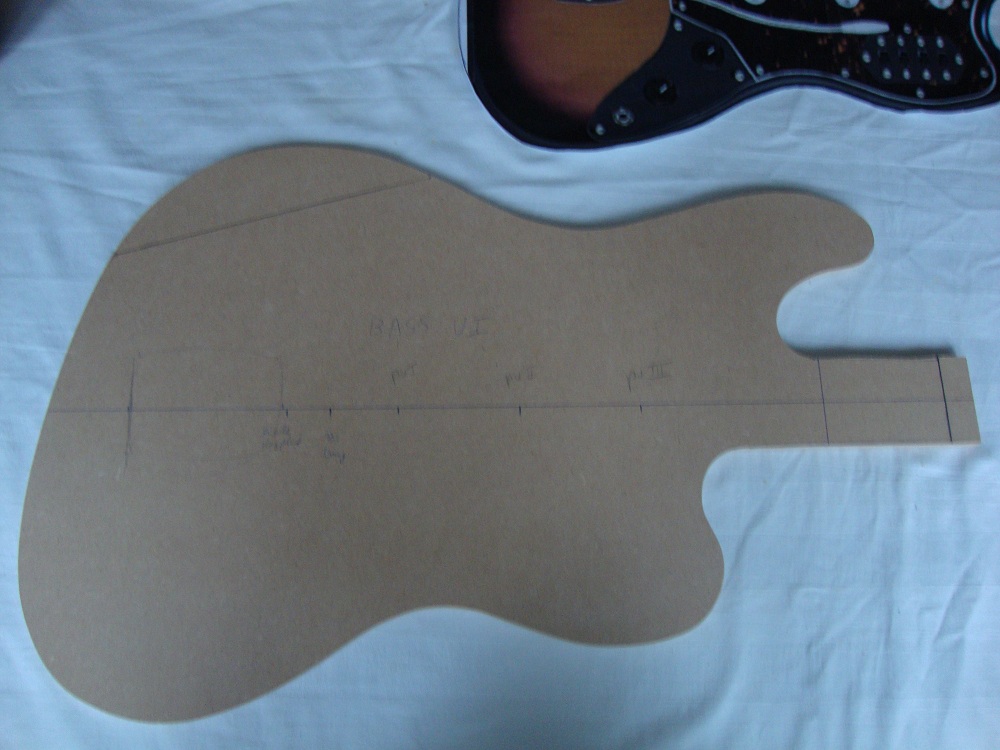
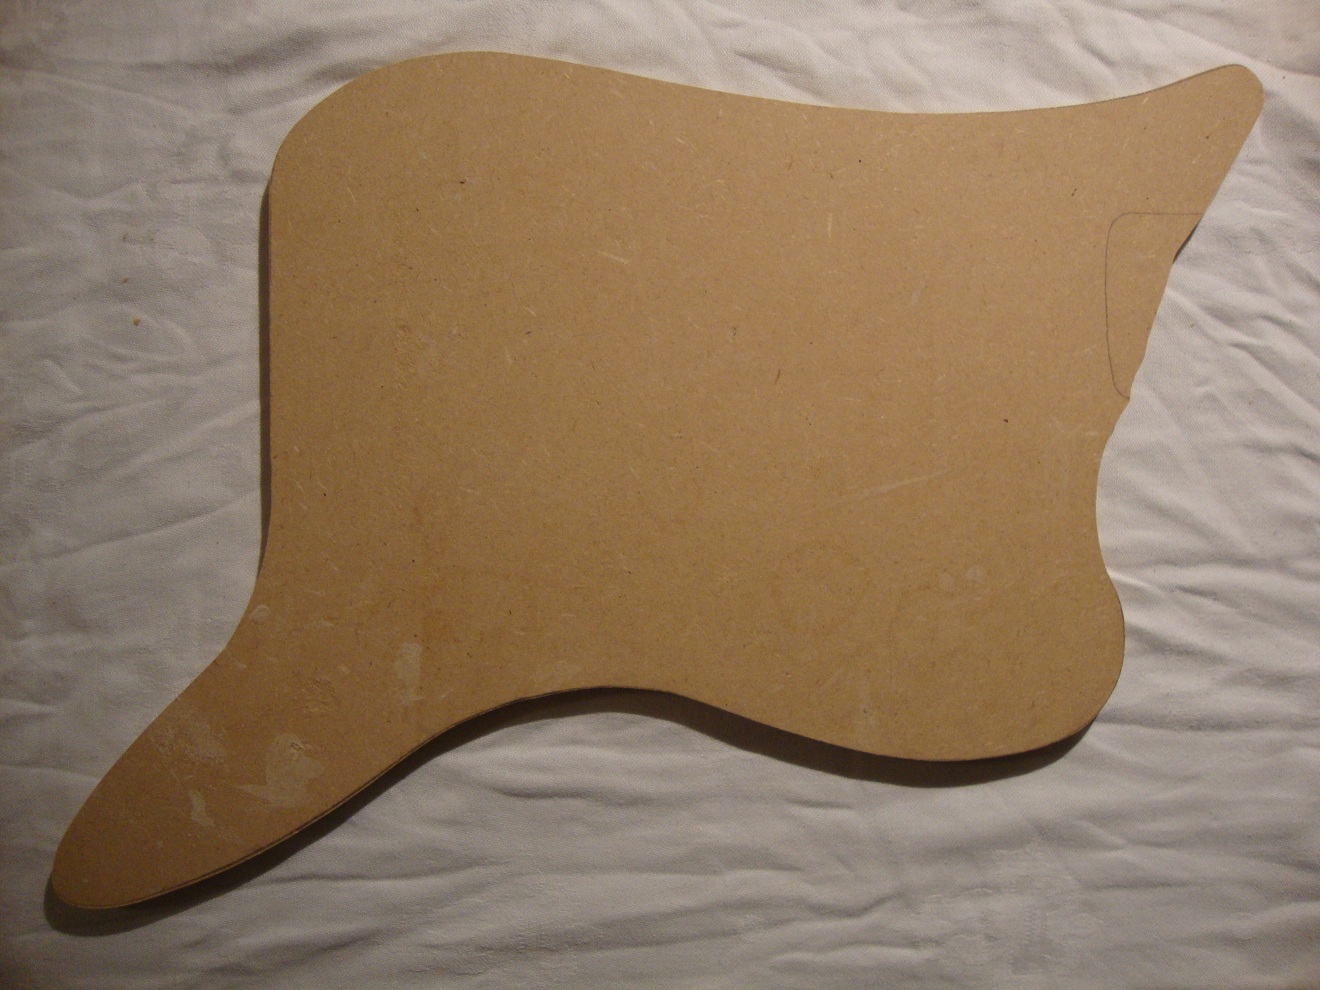
Then I printed this new picture and used it to make a template of MDF. The template I am going to use to make the body.
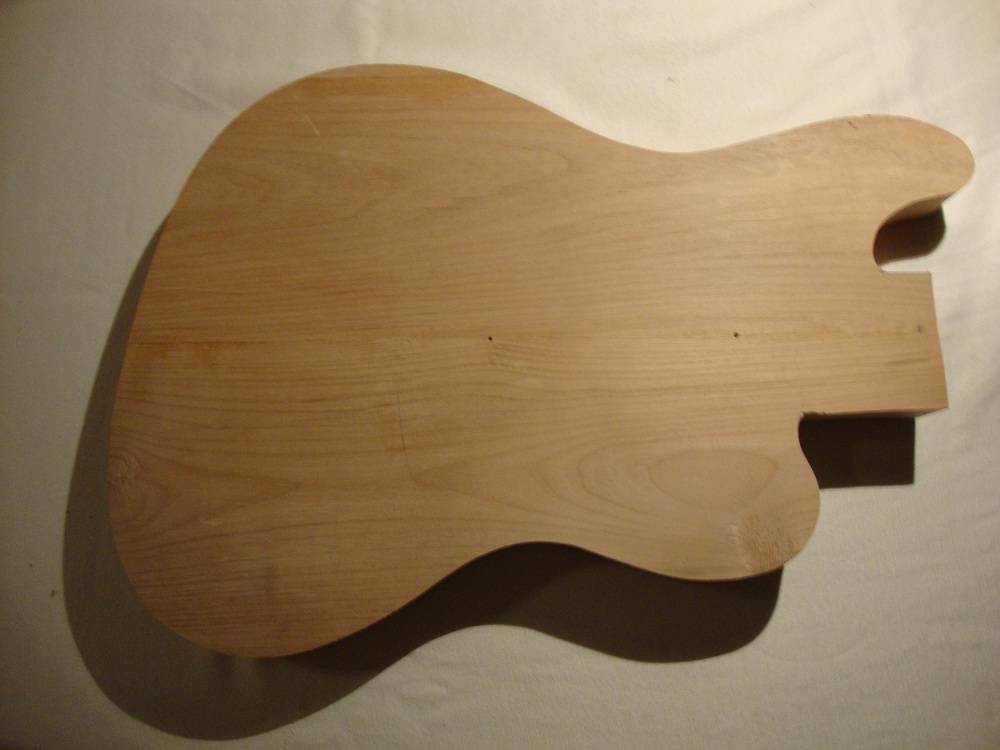
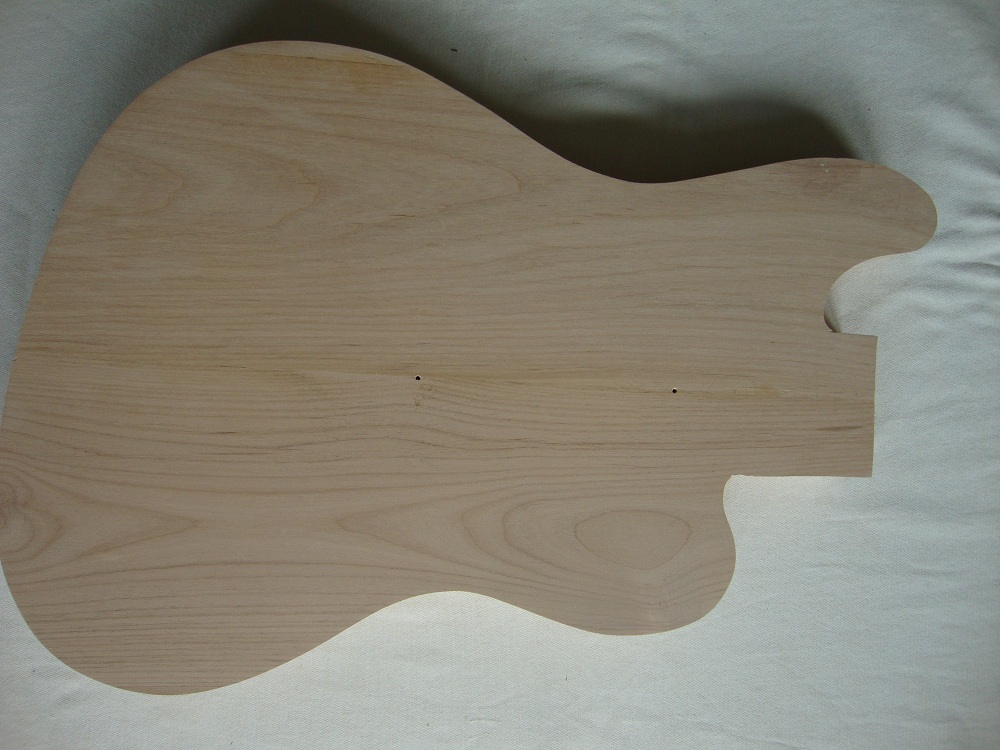
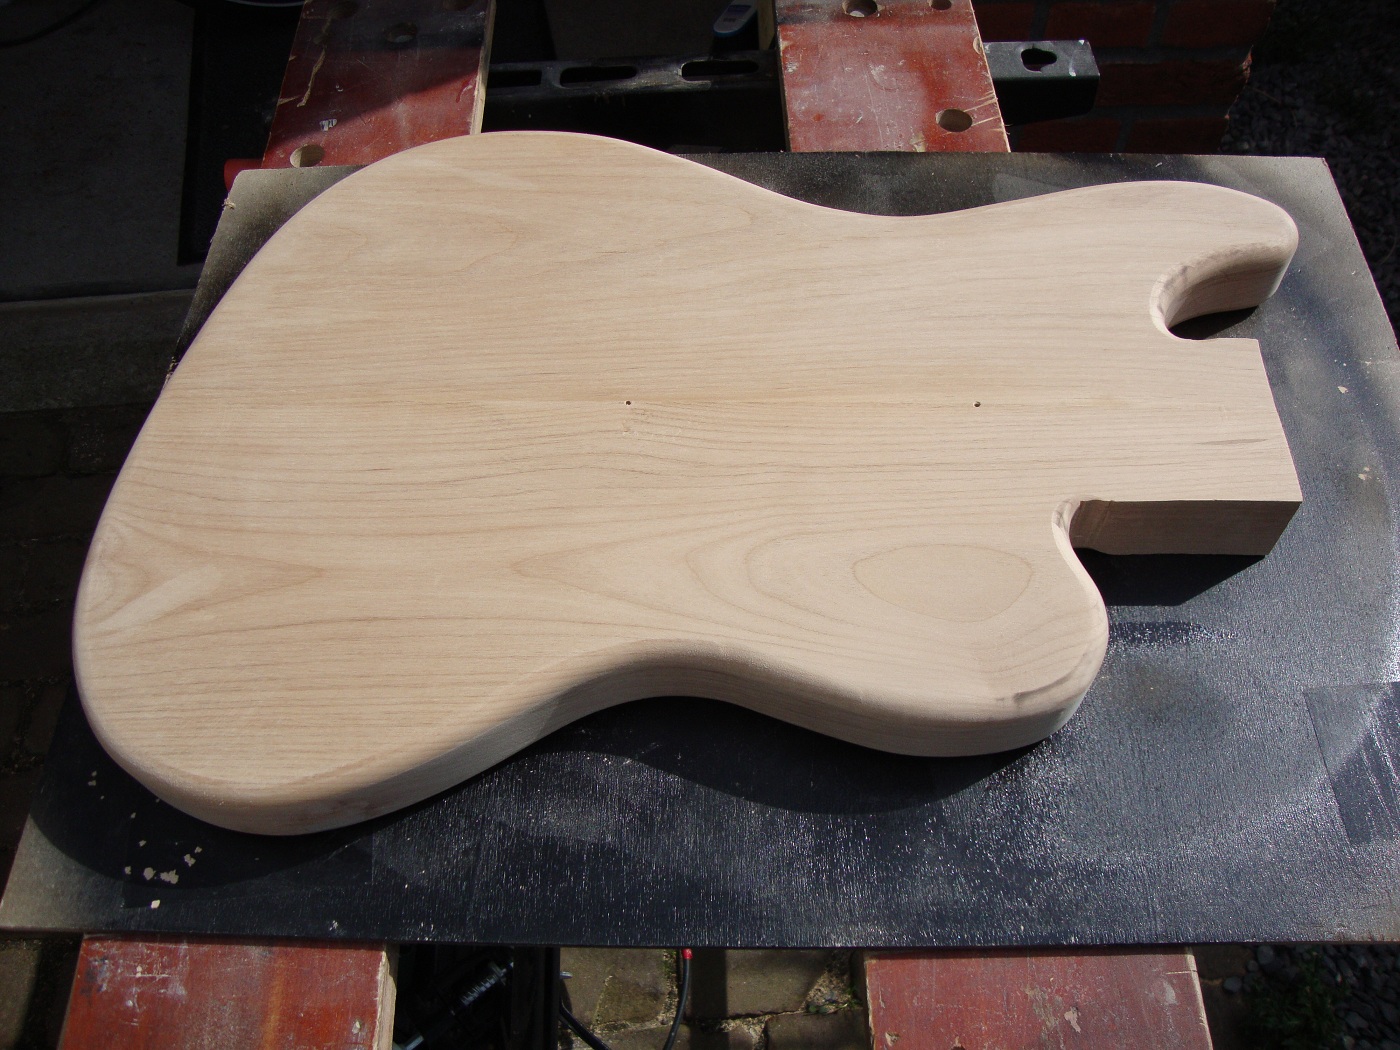
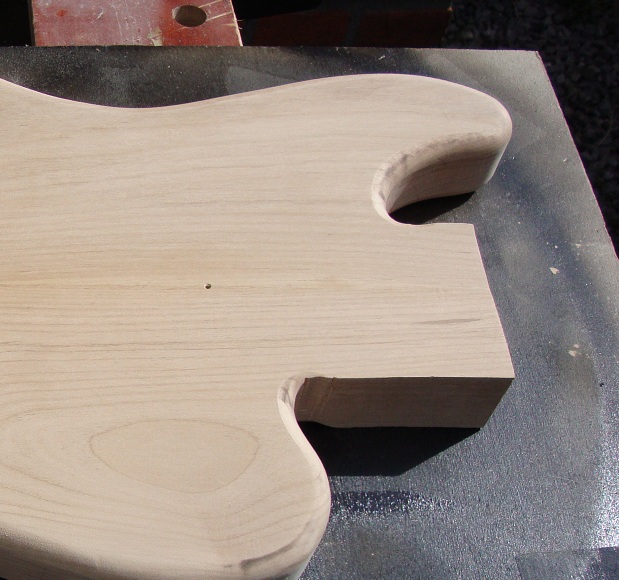
The body is made of alder. Here you see the body after using the jigsaw and the router. I left some wood around the neck pocket so I have support for the template I'm going to use for routing the neck pocket.
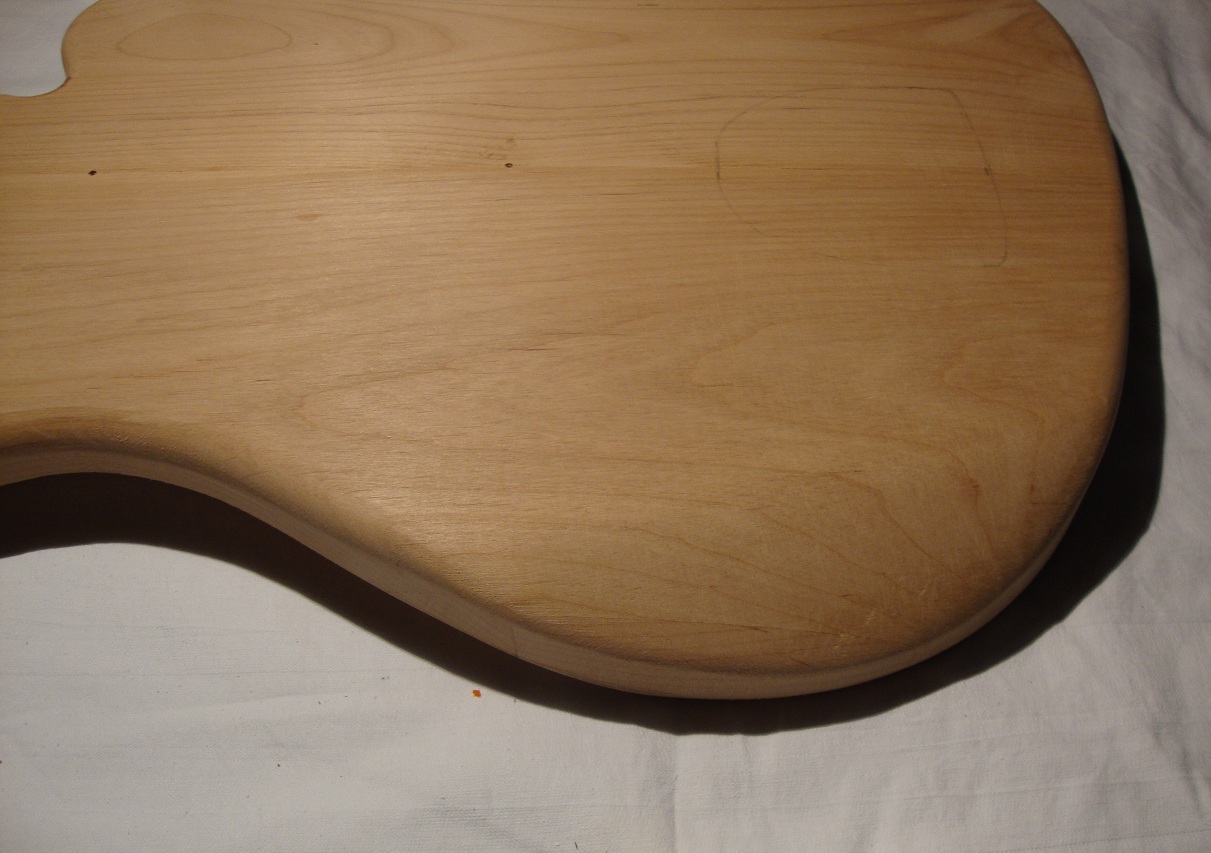
Here you see the body after sanding the surfaces.
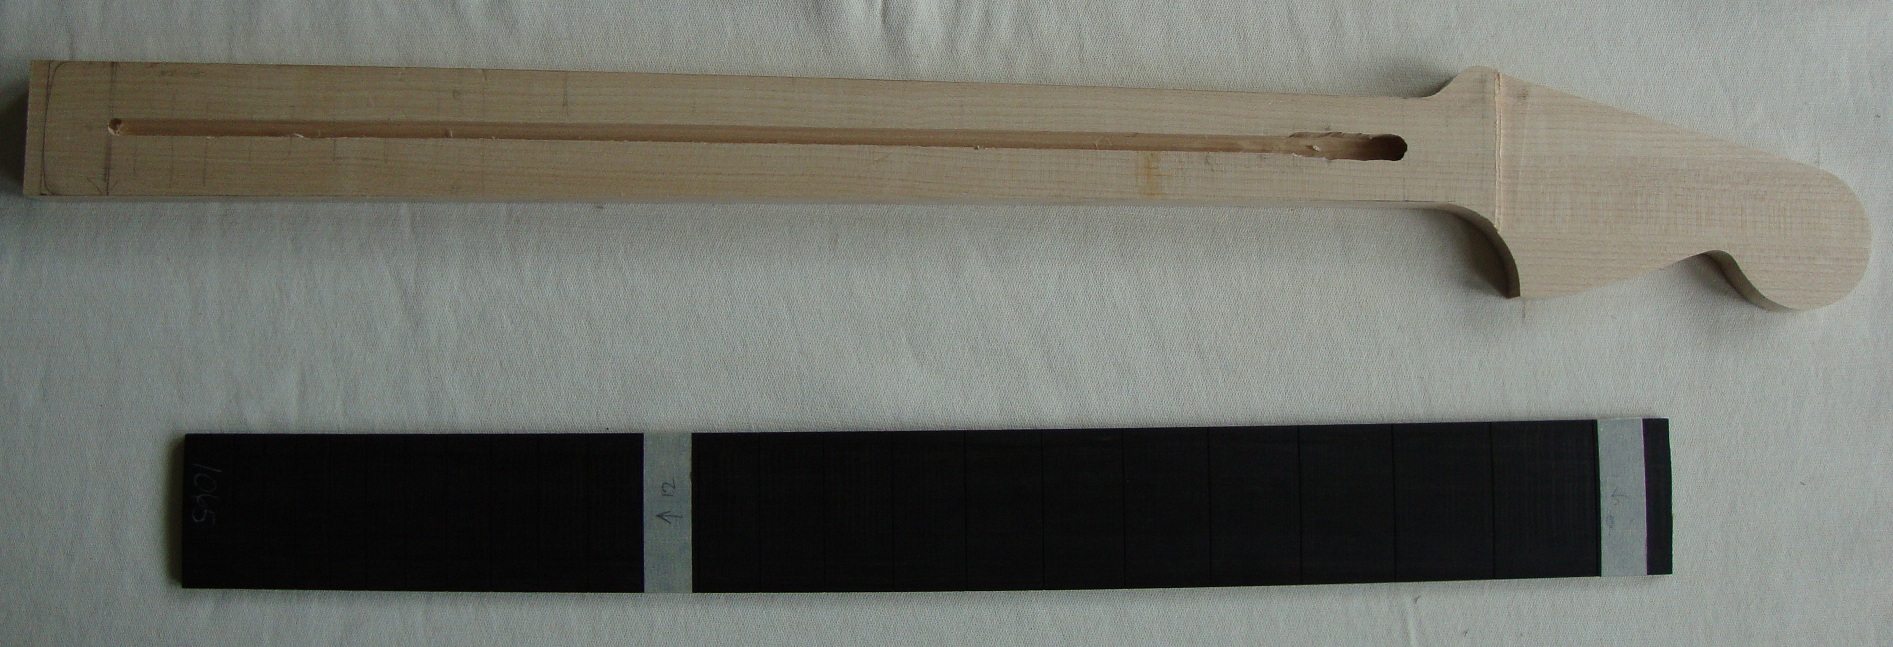
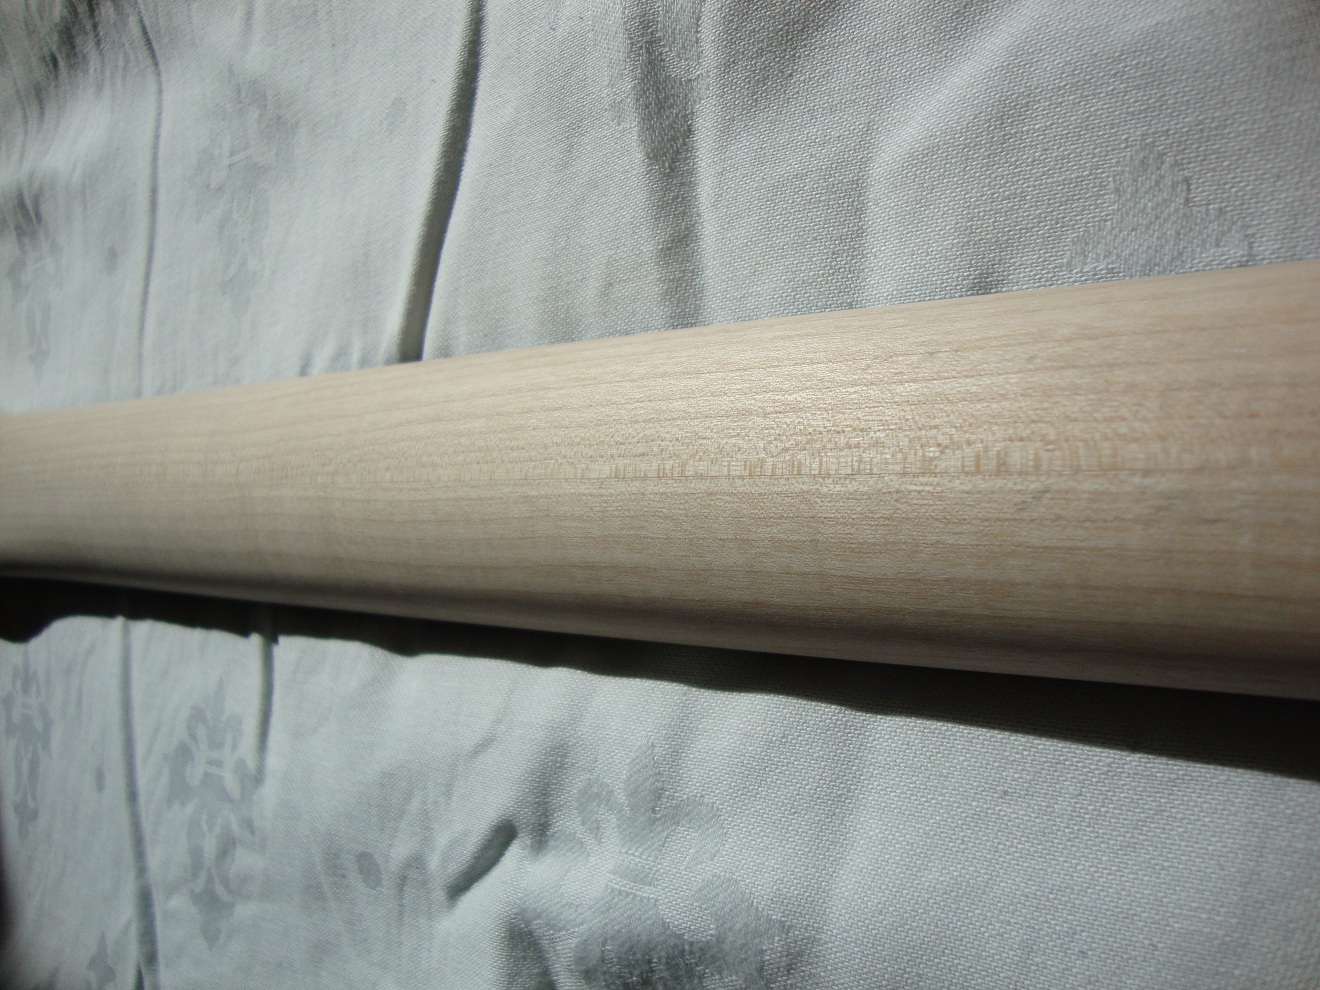
Here you see neck and fingerboard (ebony). The trussrod channel is already there.
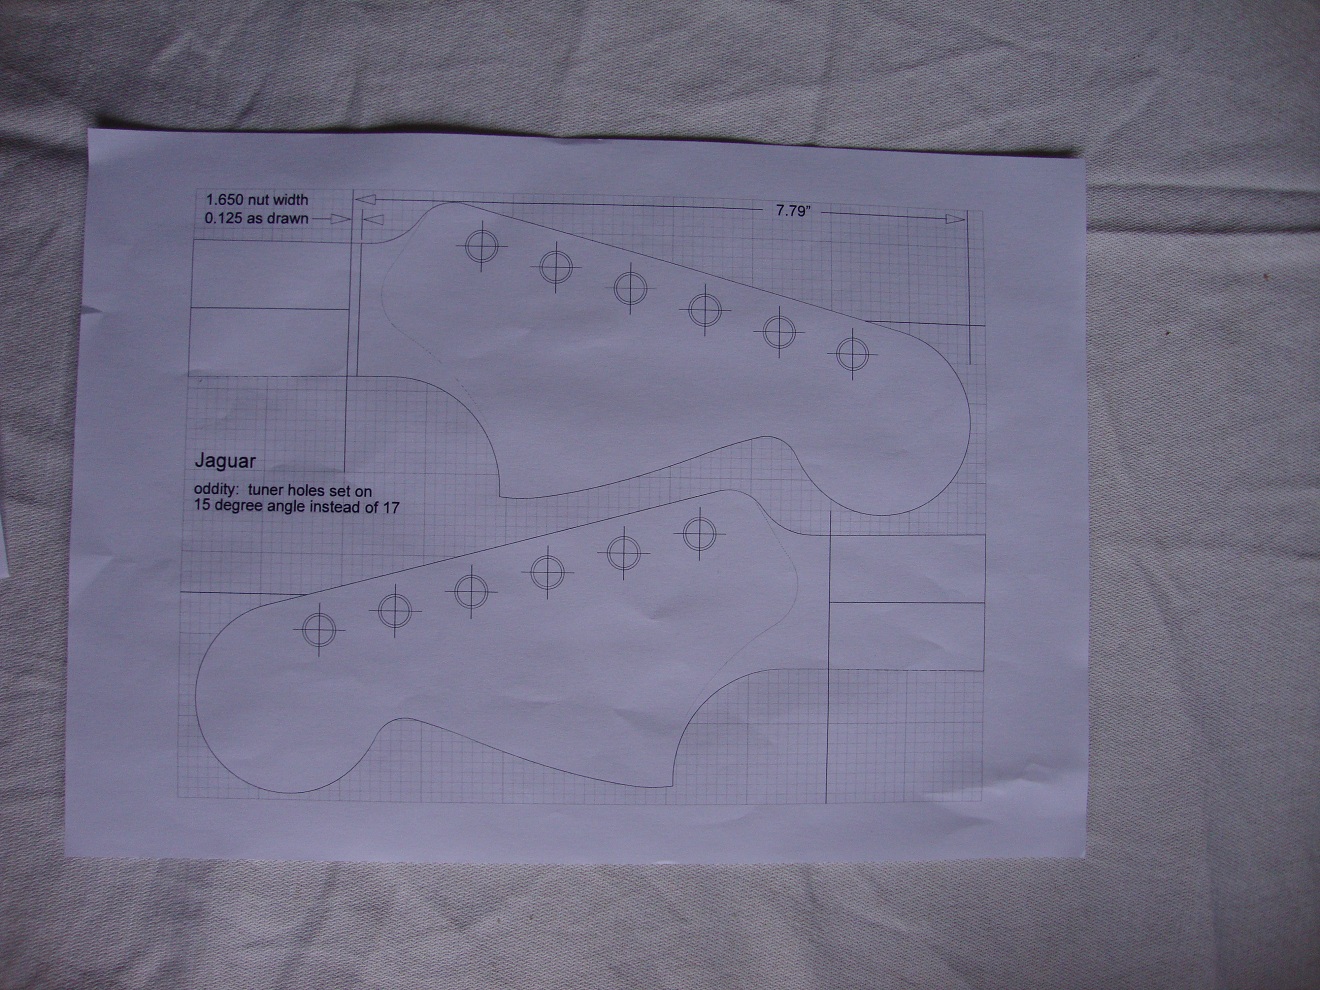
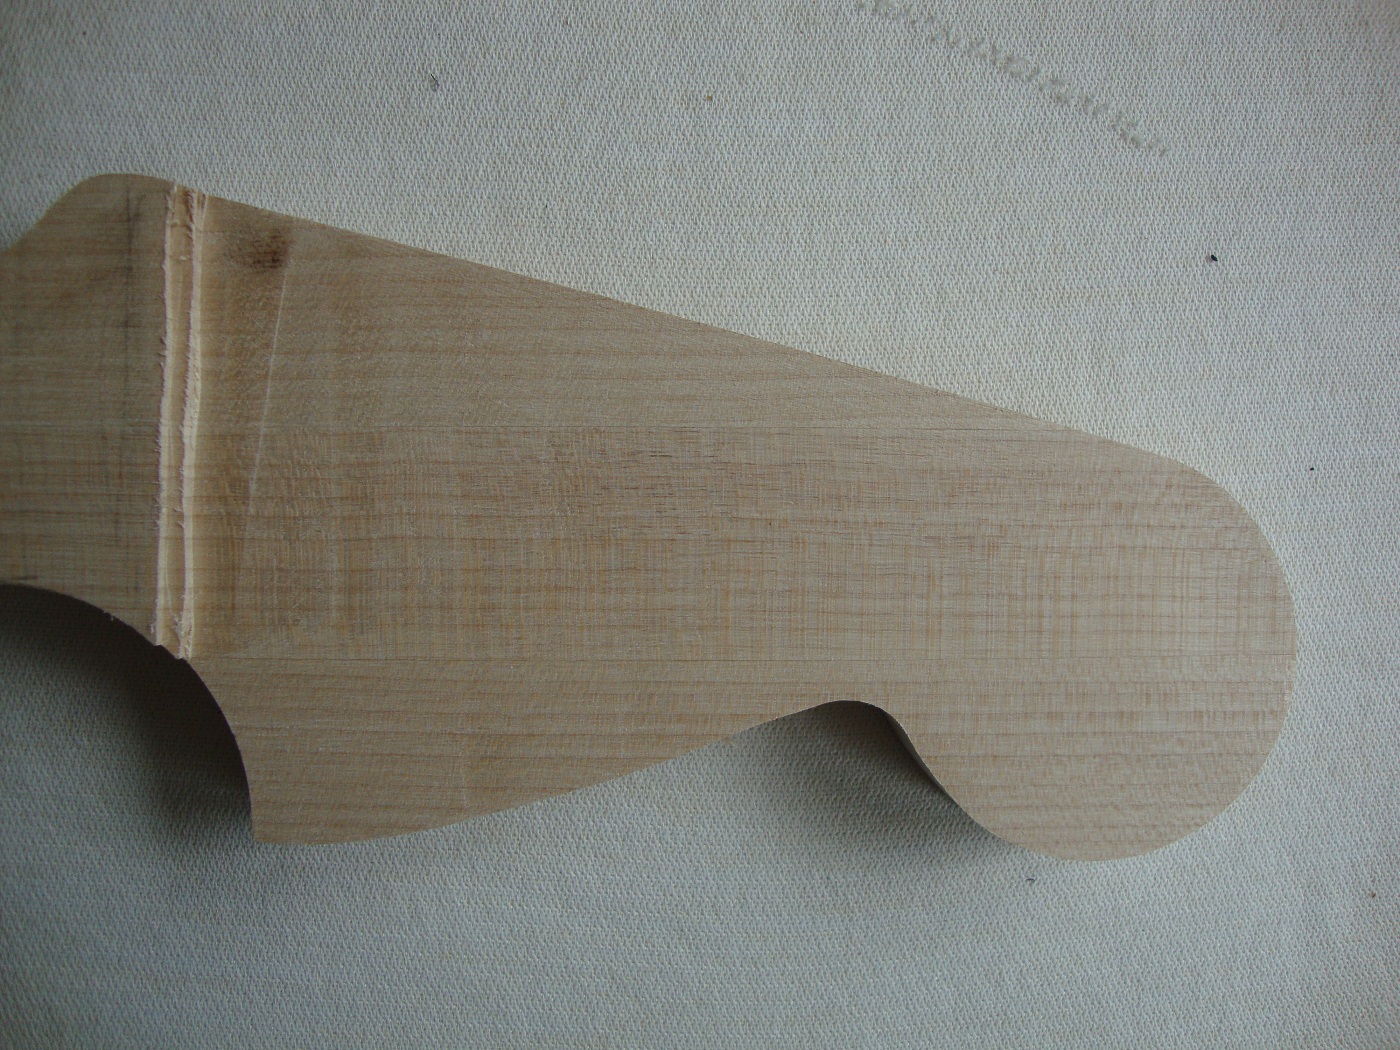
On internet I found a pdf-file with all kind of headstocks. I choose the Jaguar-type to make a template for the router.
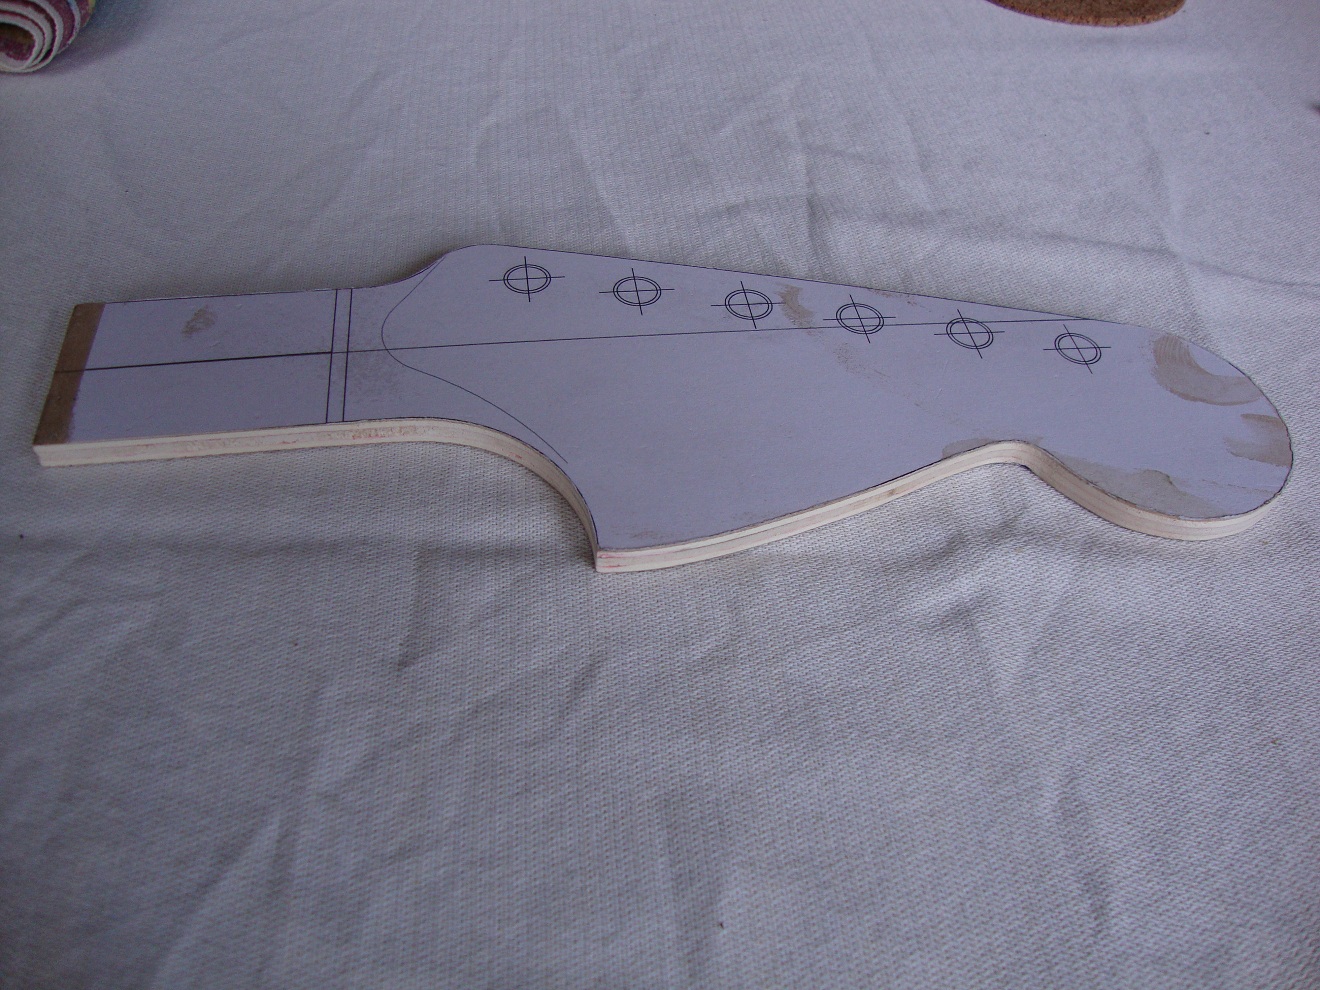
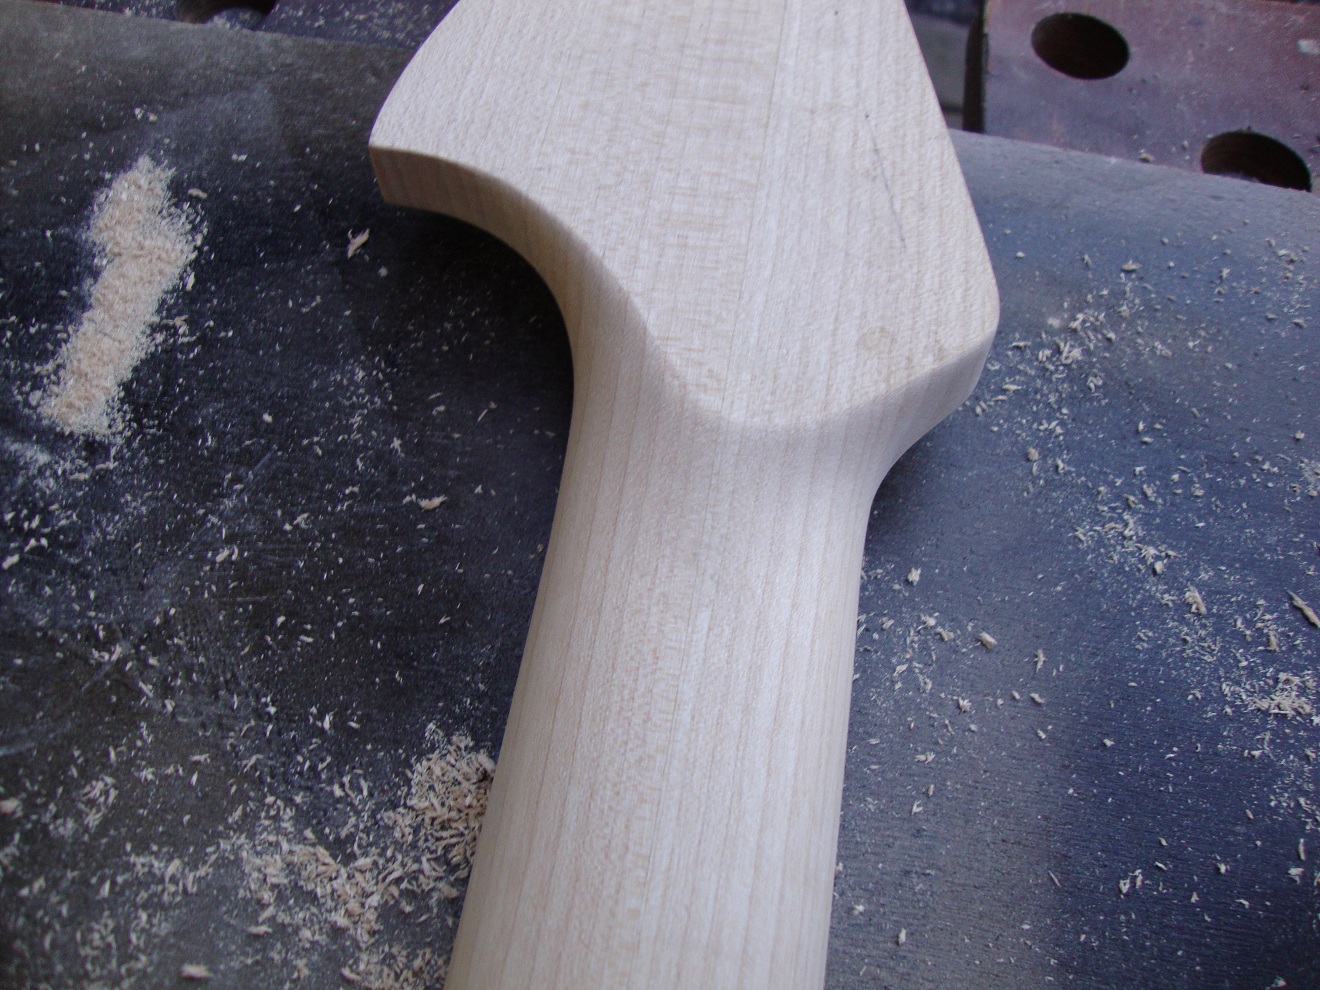
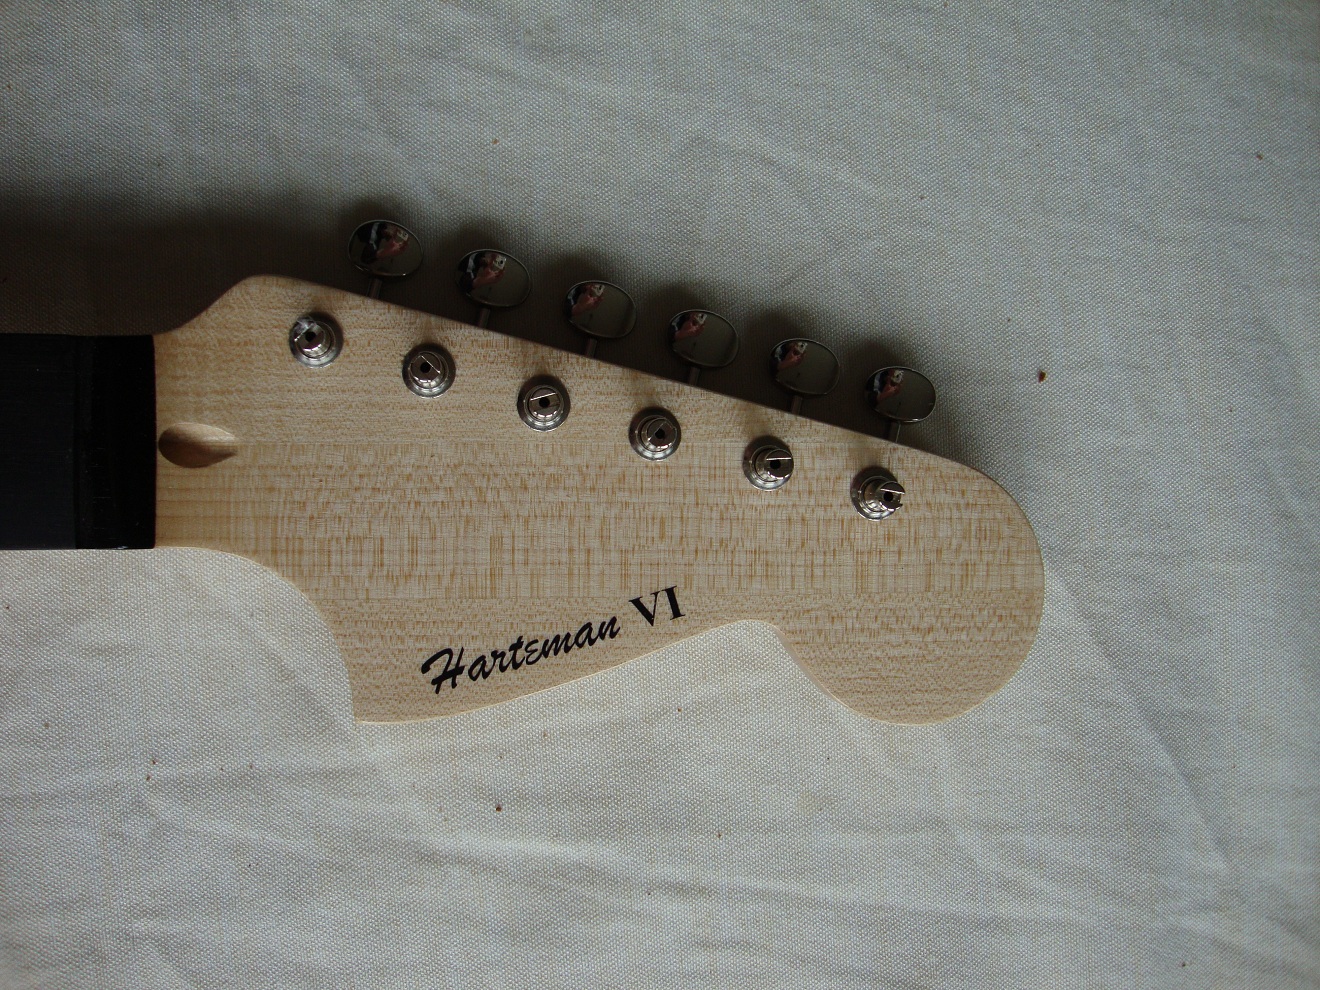
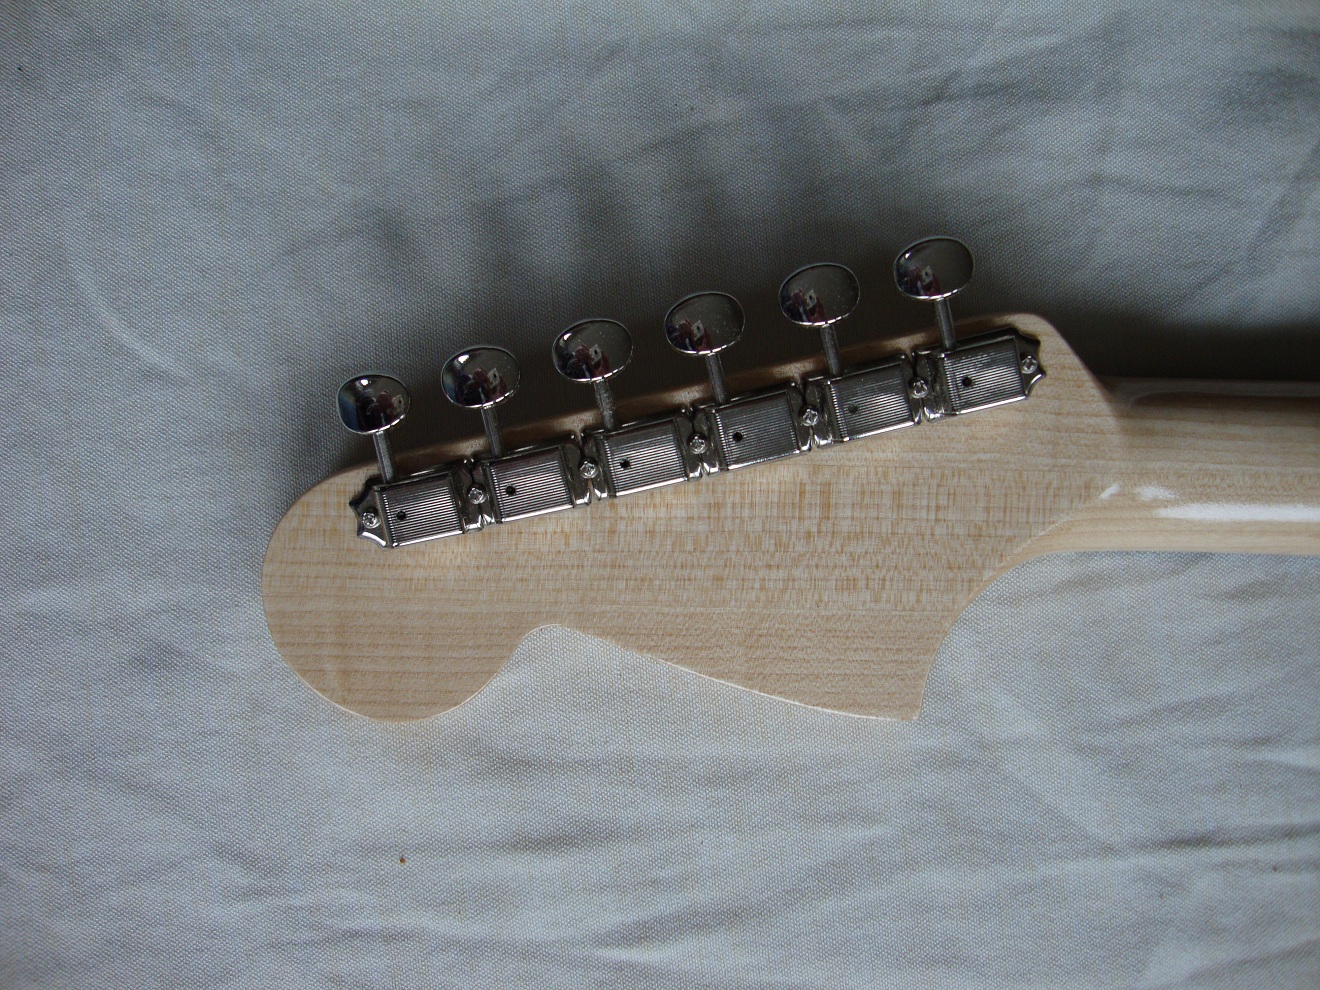
The headstock, you can see the neck is quarter sawn.
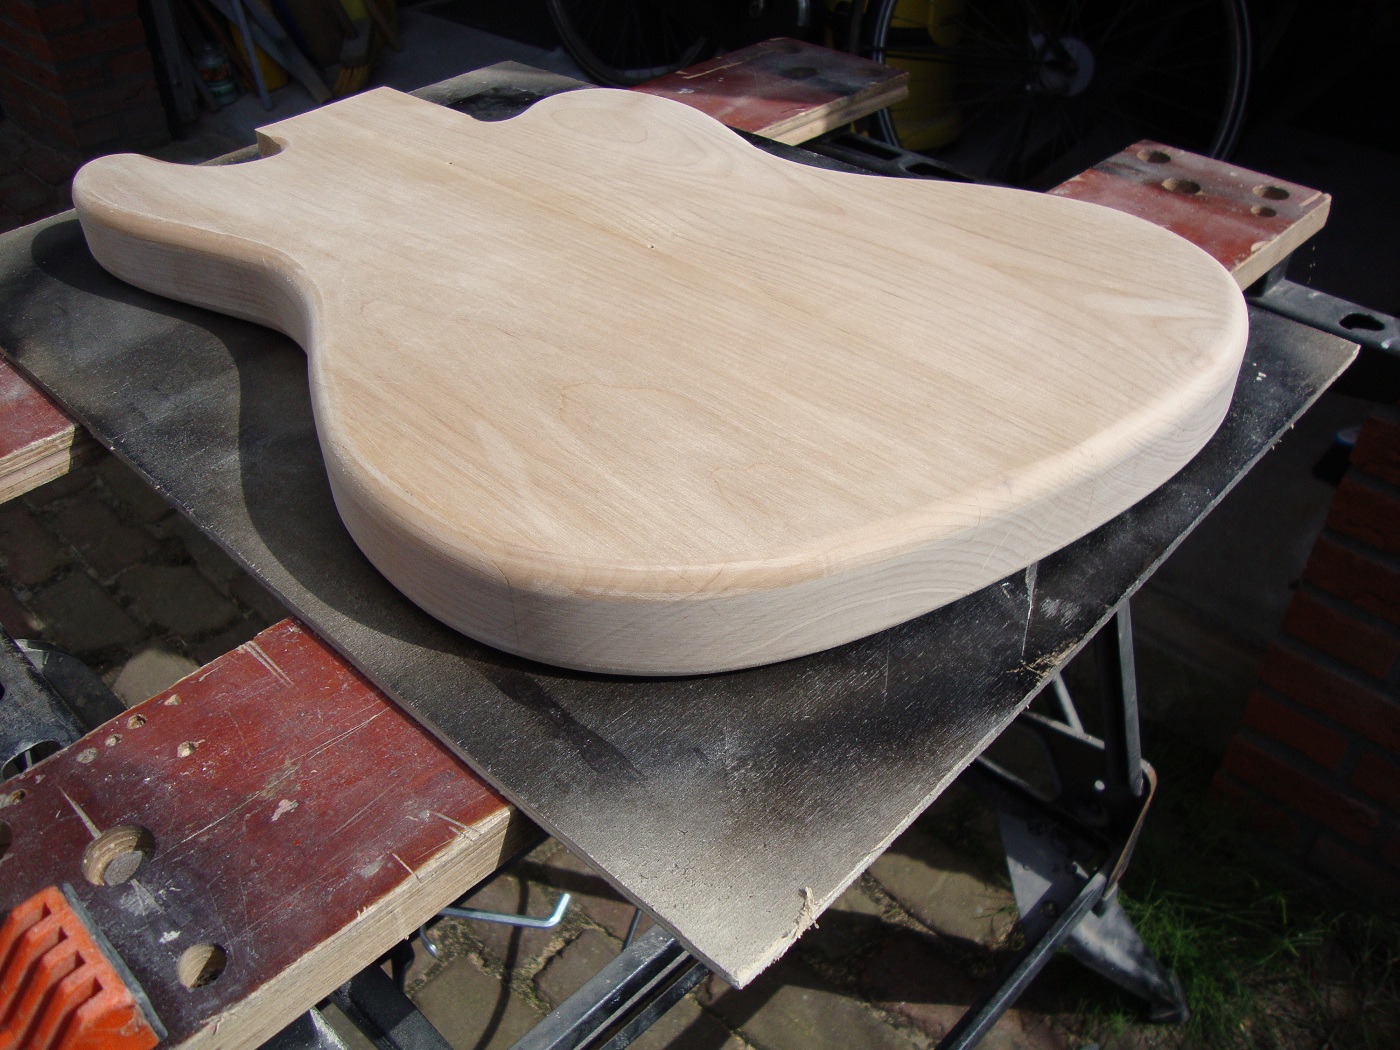
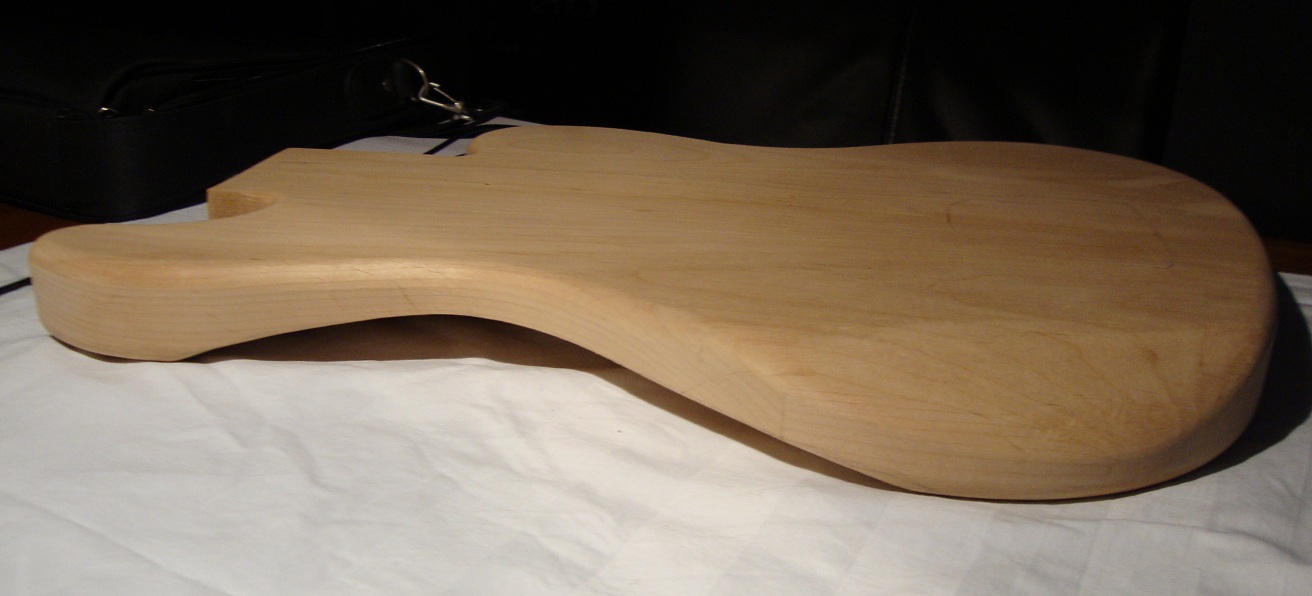
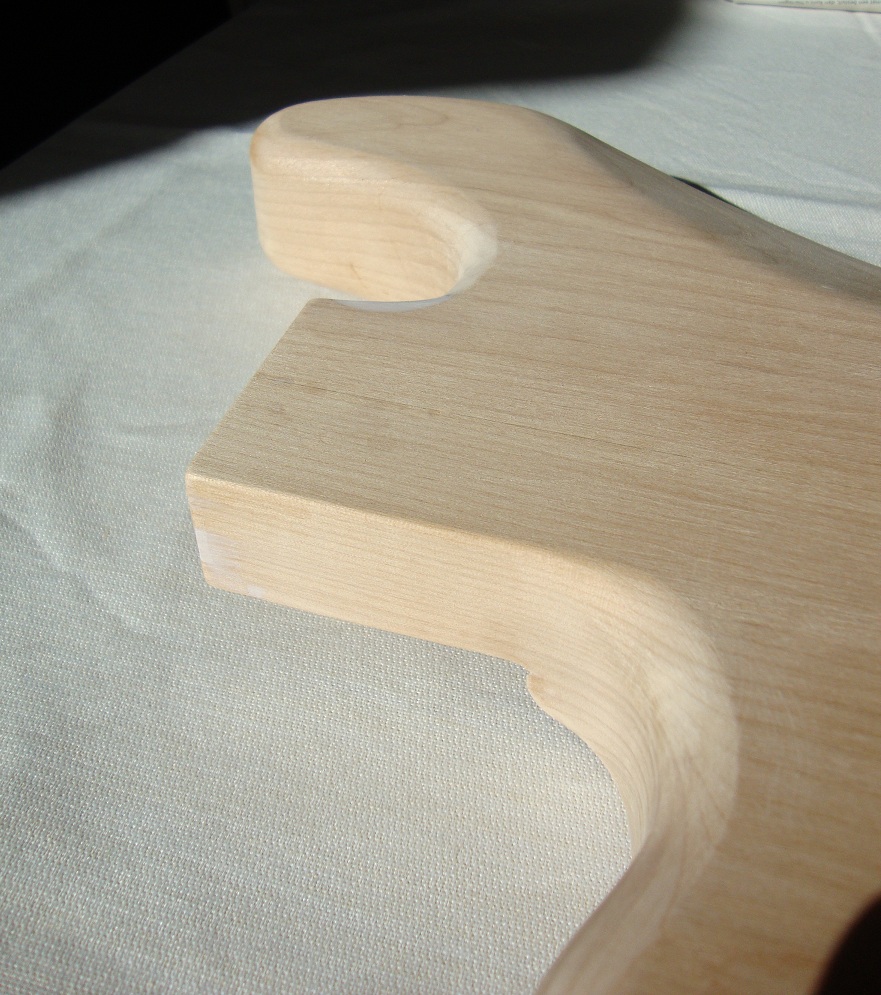
The rounded edges of the body. It doesn't look that chunky anymore.
Next, the body contours (beer belly rest).
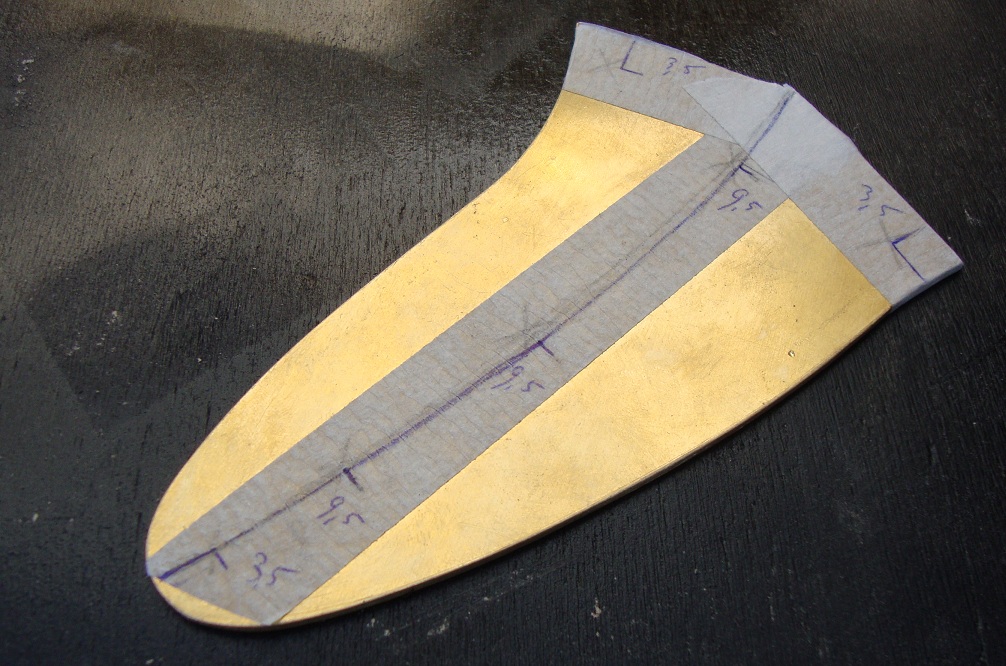
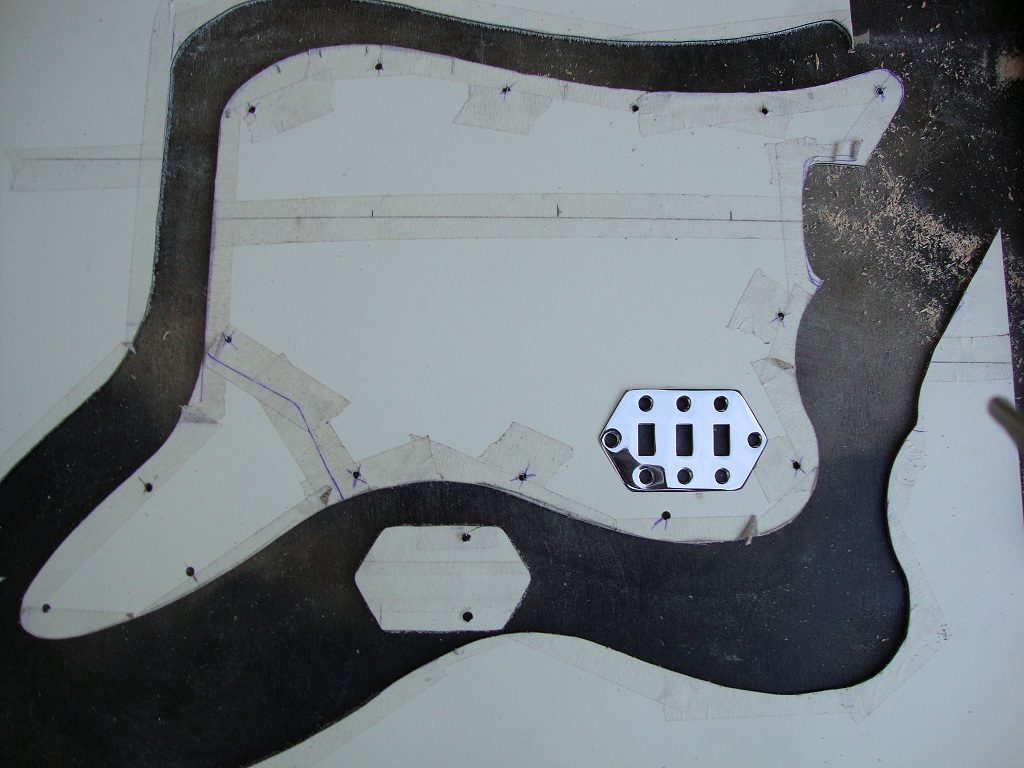
Time for the control plate. A sheet of brass and a jig saw (not electric)leads to this.
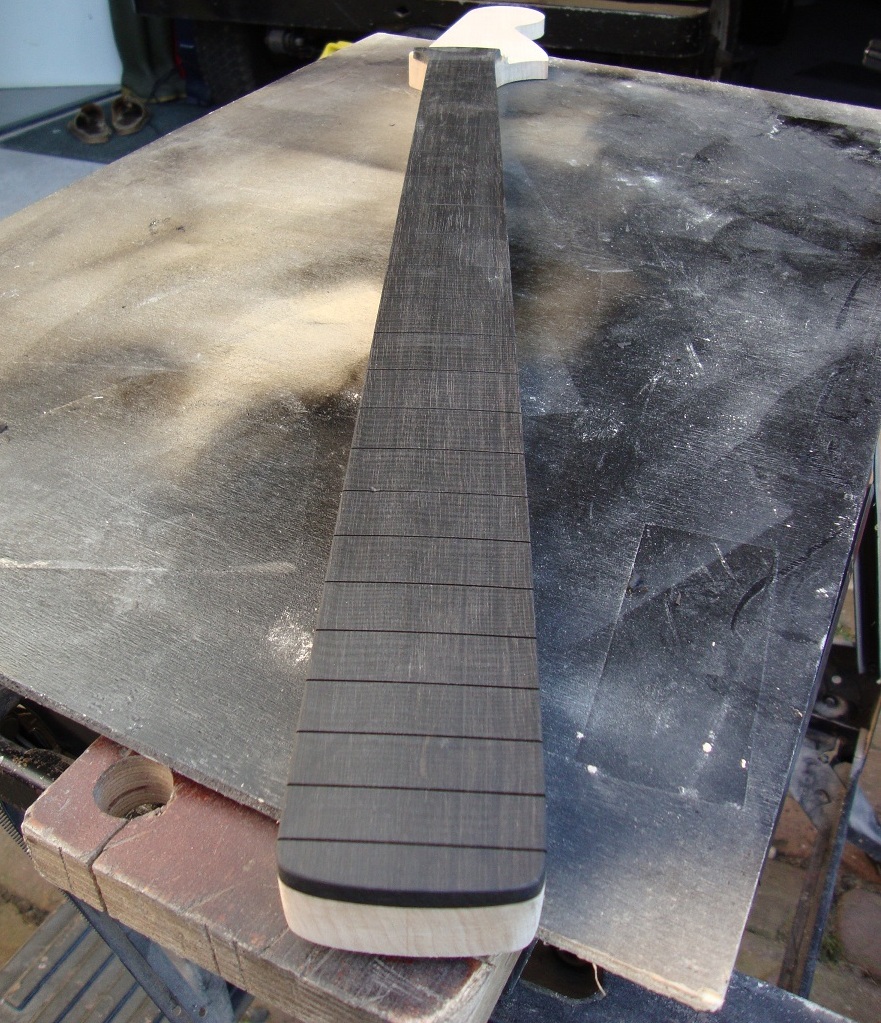
And after putting the fretboard on the neck with titebond and a lot of sanding....
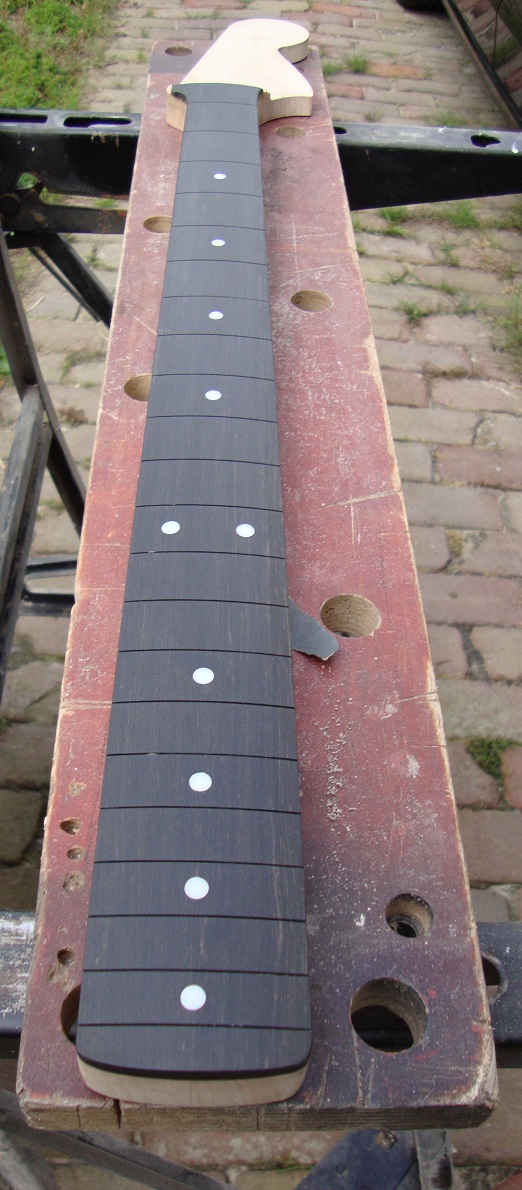
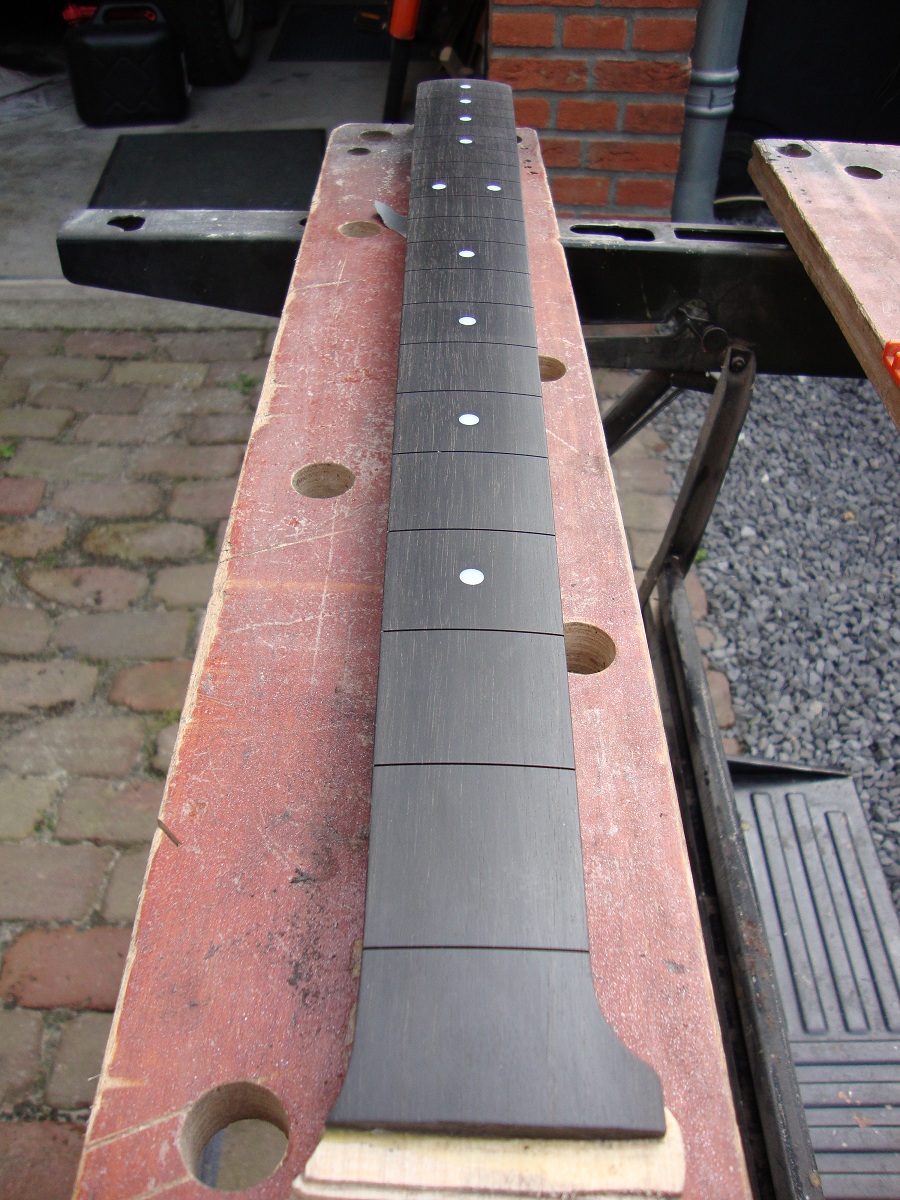
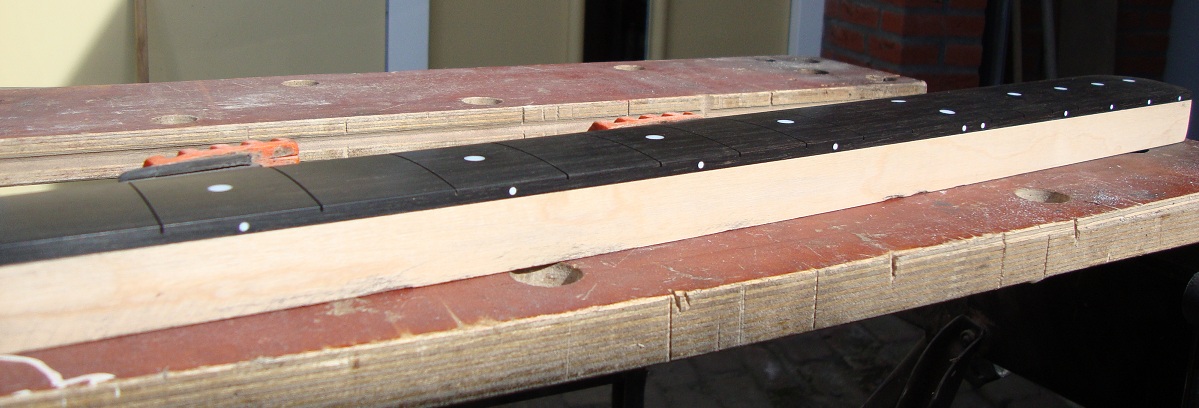
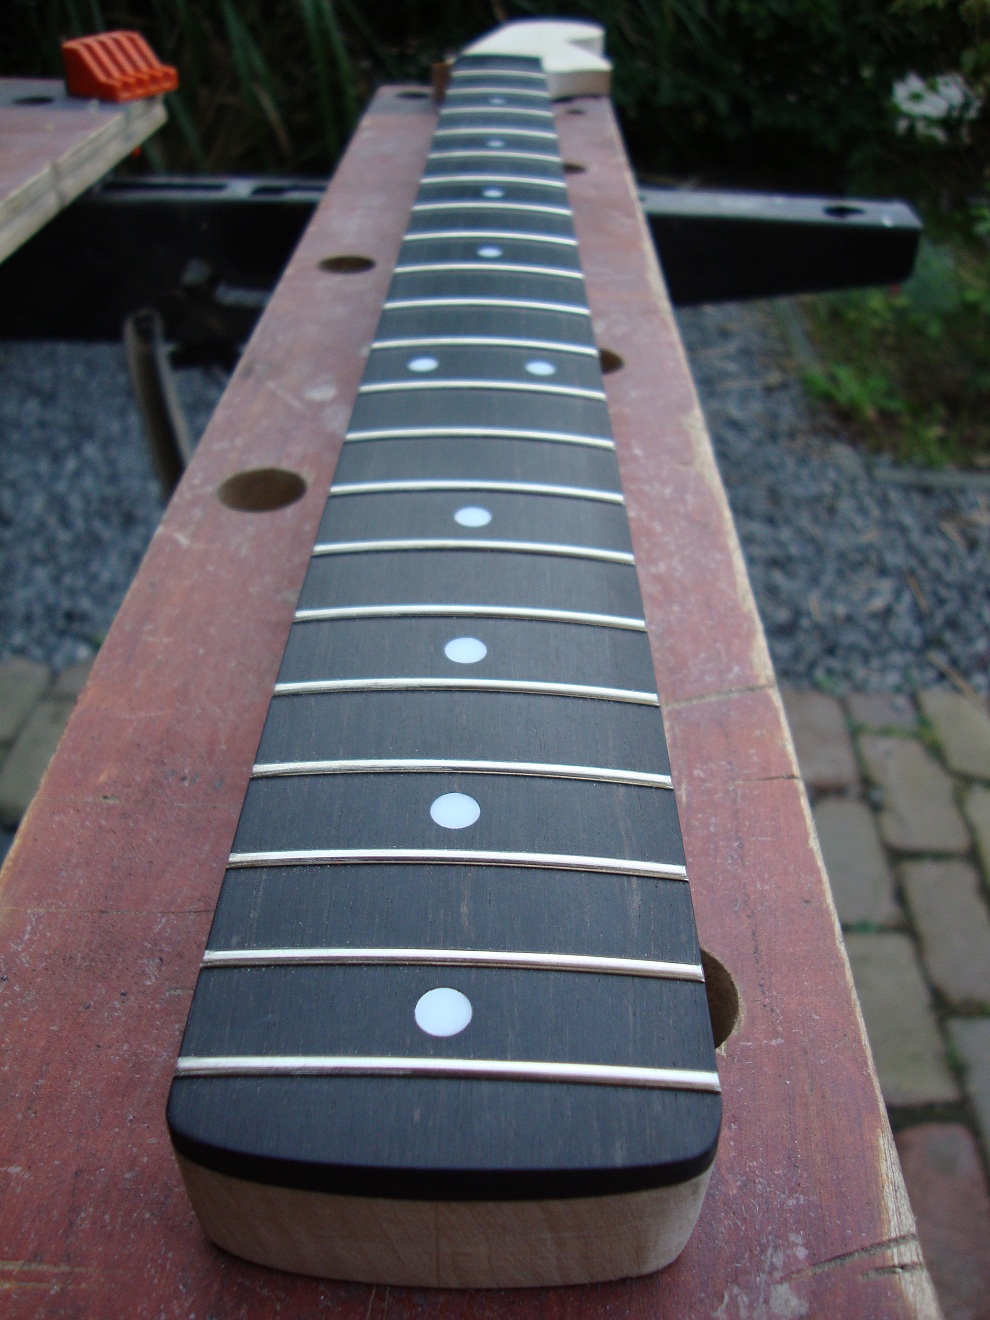
Next thing to do is the position markers and bring back the radius to 7.25".
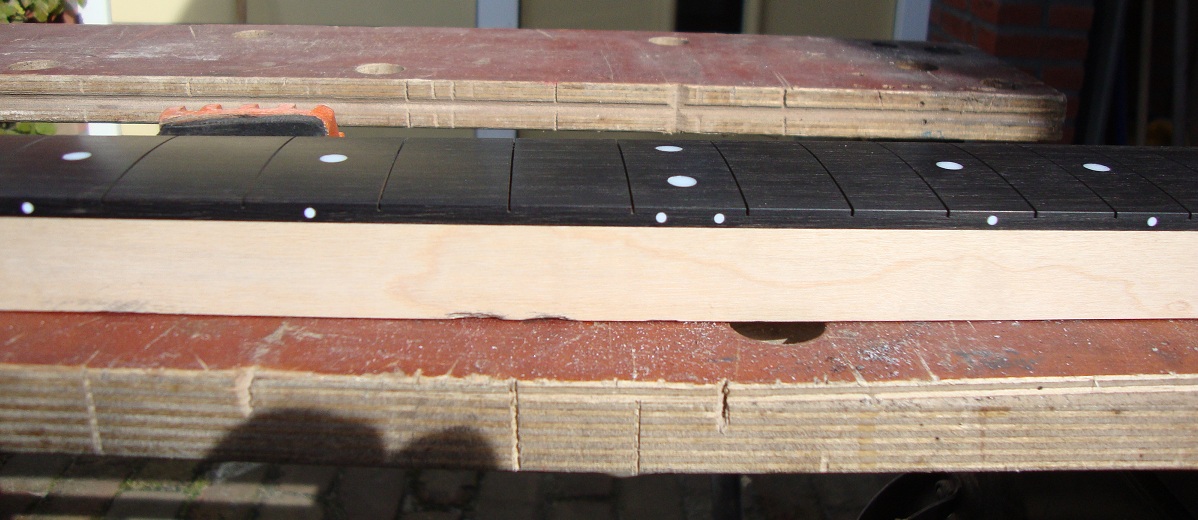
And of course the side dots.
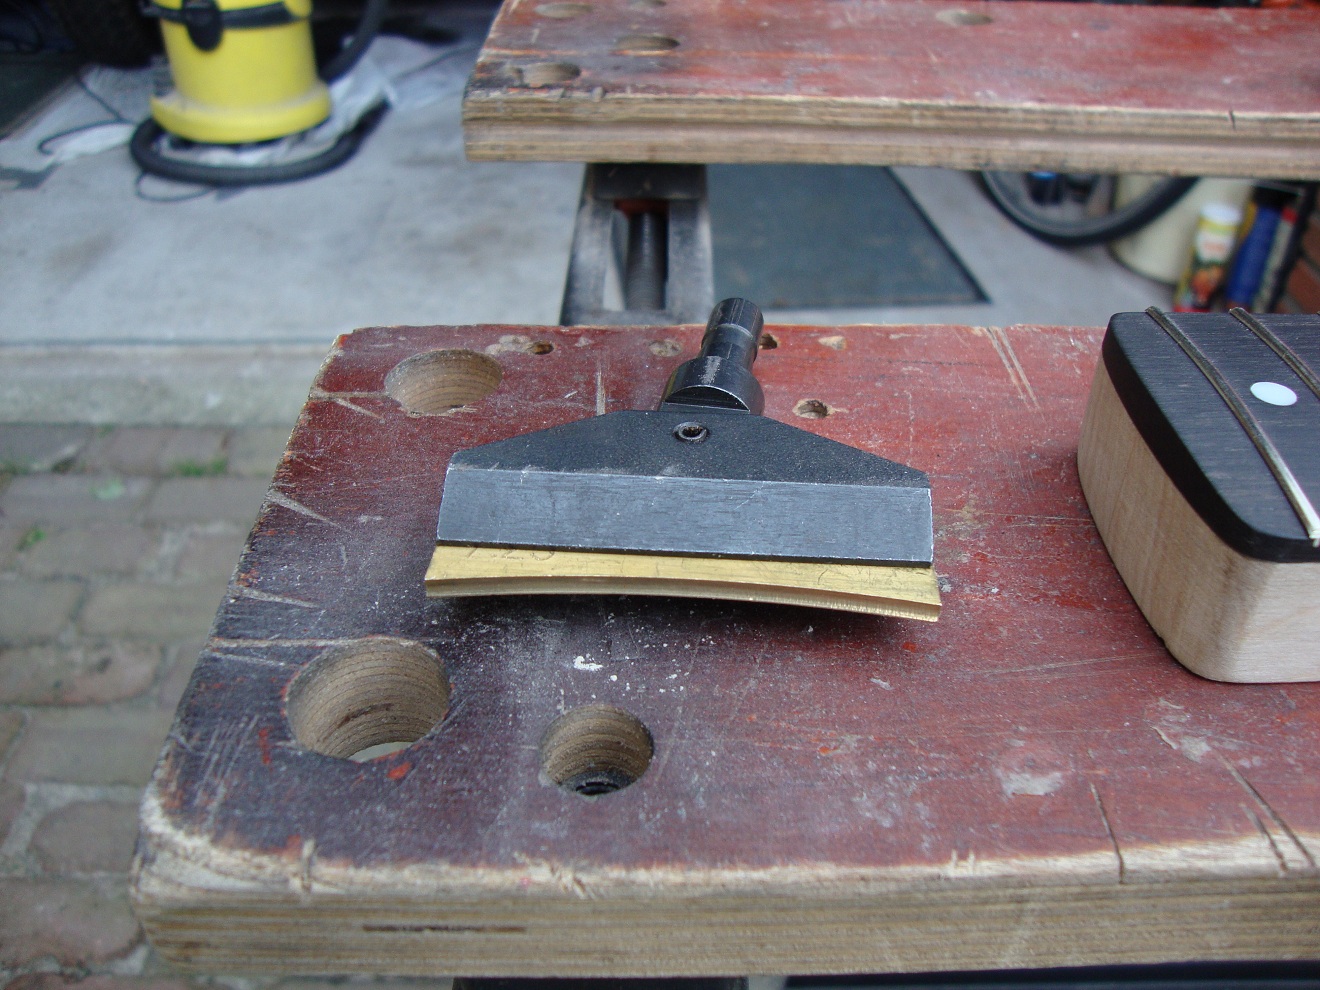
Time for the frets (vintage size) and the slot for the nut (bone).
Here you see the tool I used to press the frets in the fretboard. It is placed in a column drill and then you can just press the frets in.
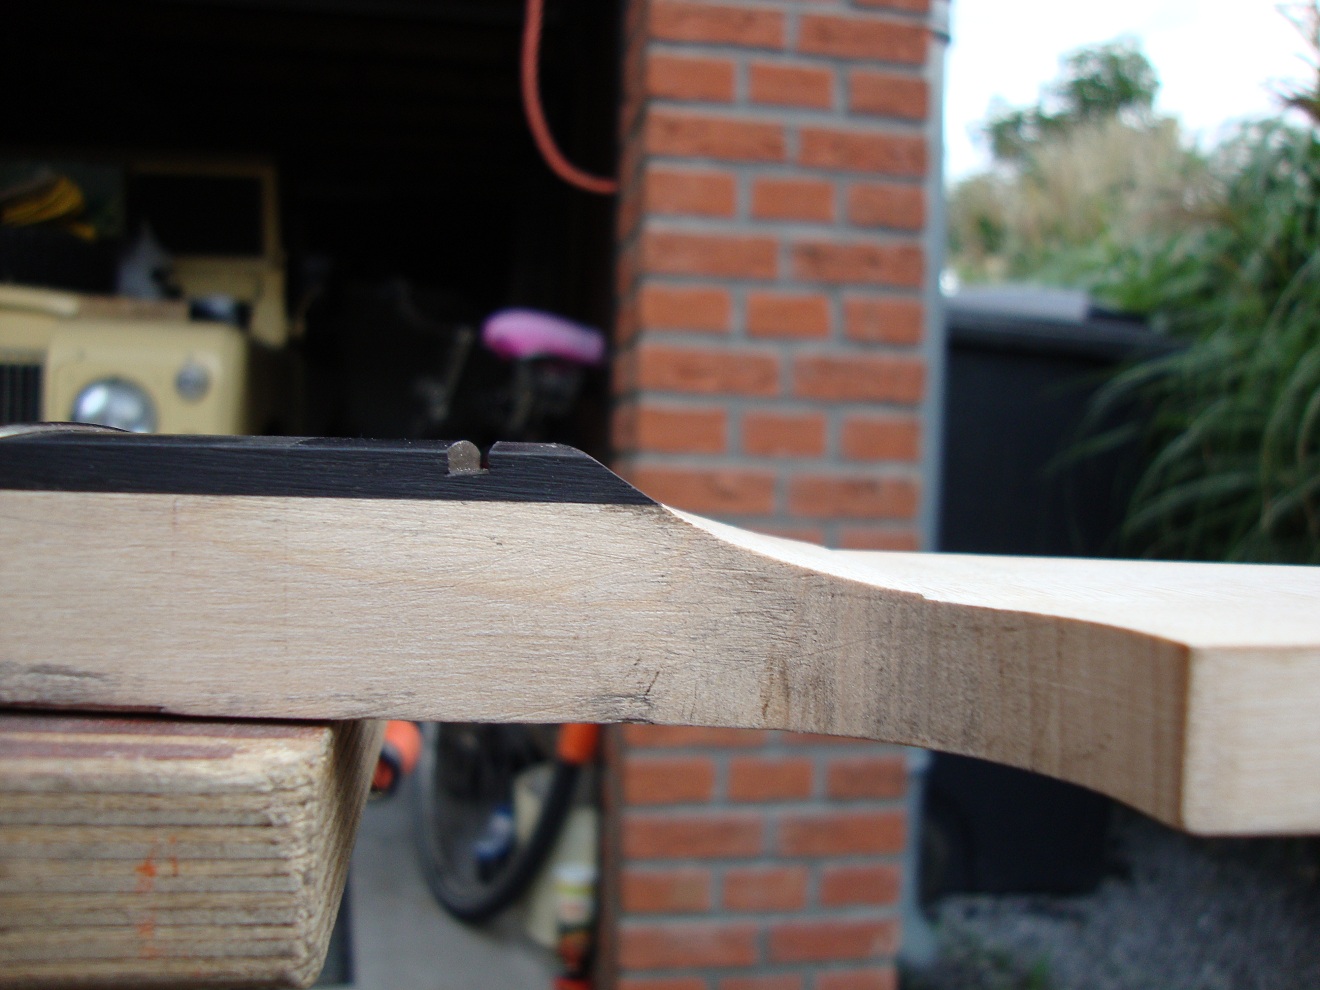
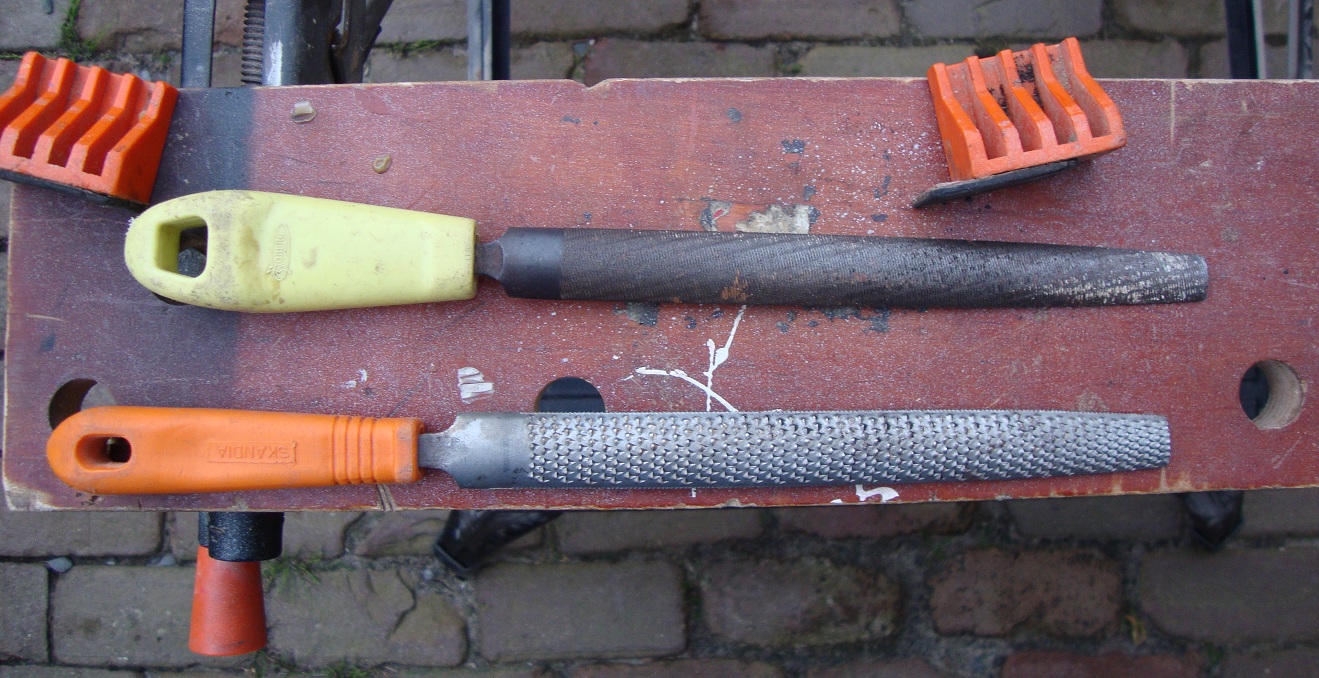
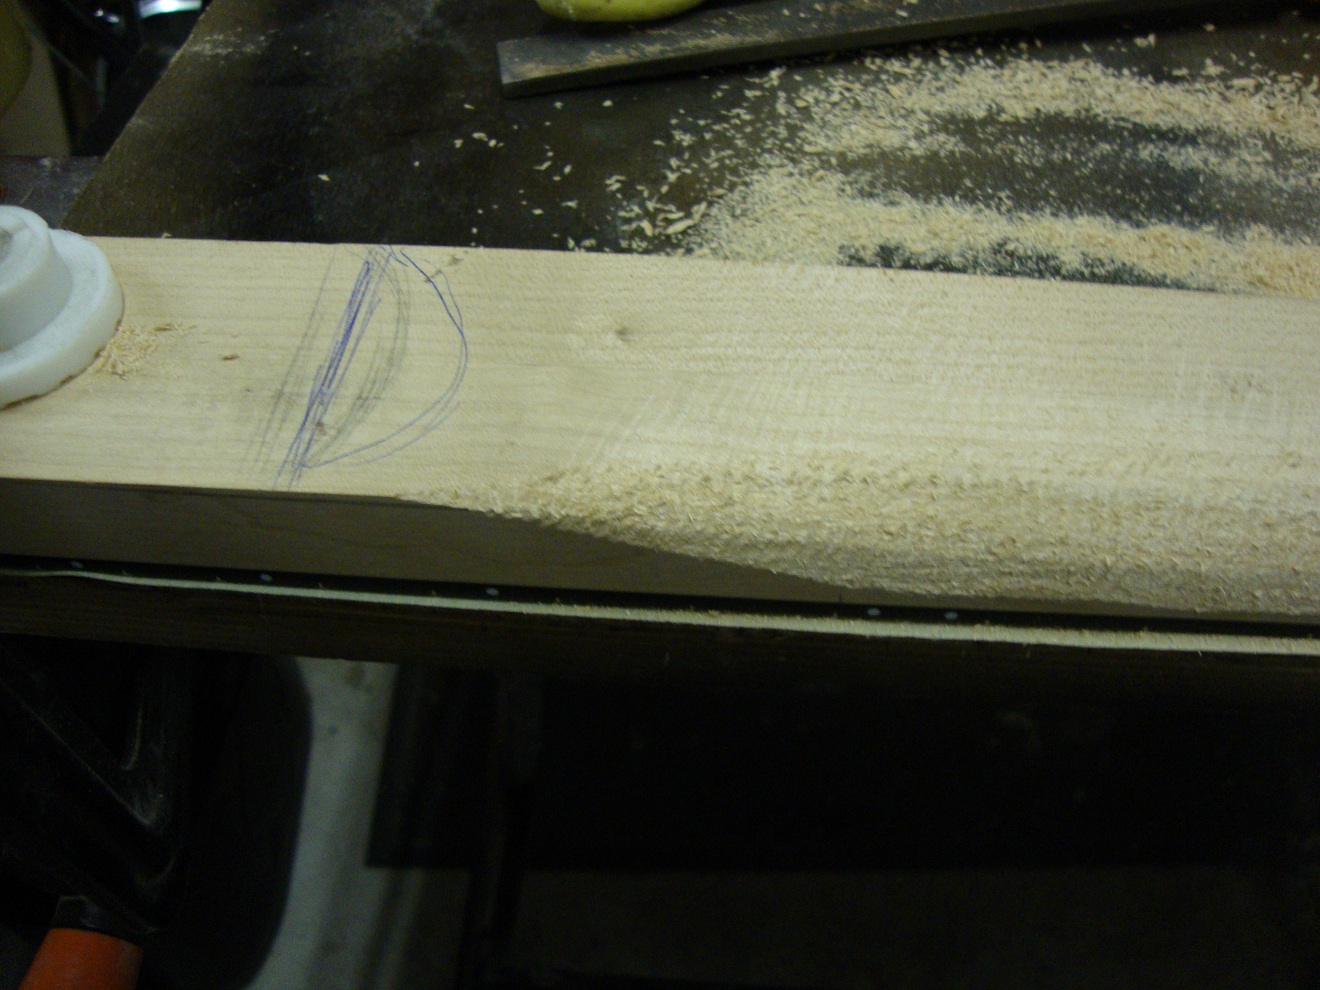
You can see I made the slot for the nut. I also started on the curve from the fretboard to the headstock using a file and a rasp.
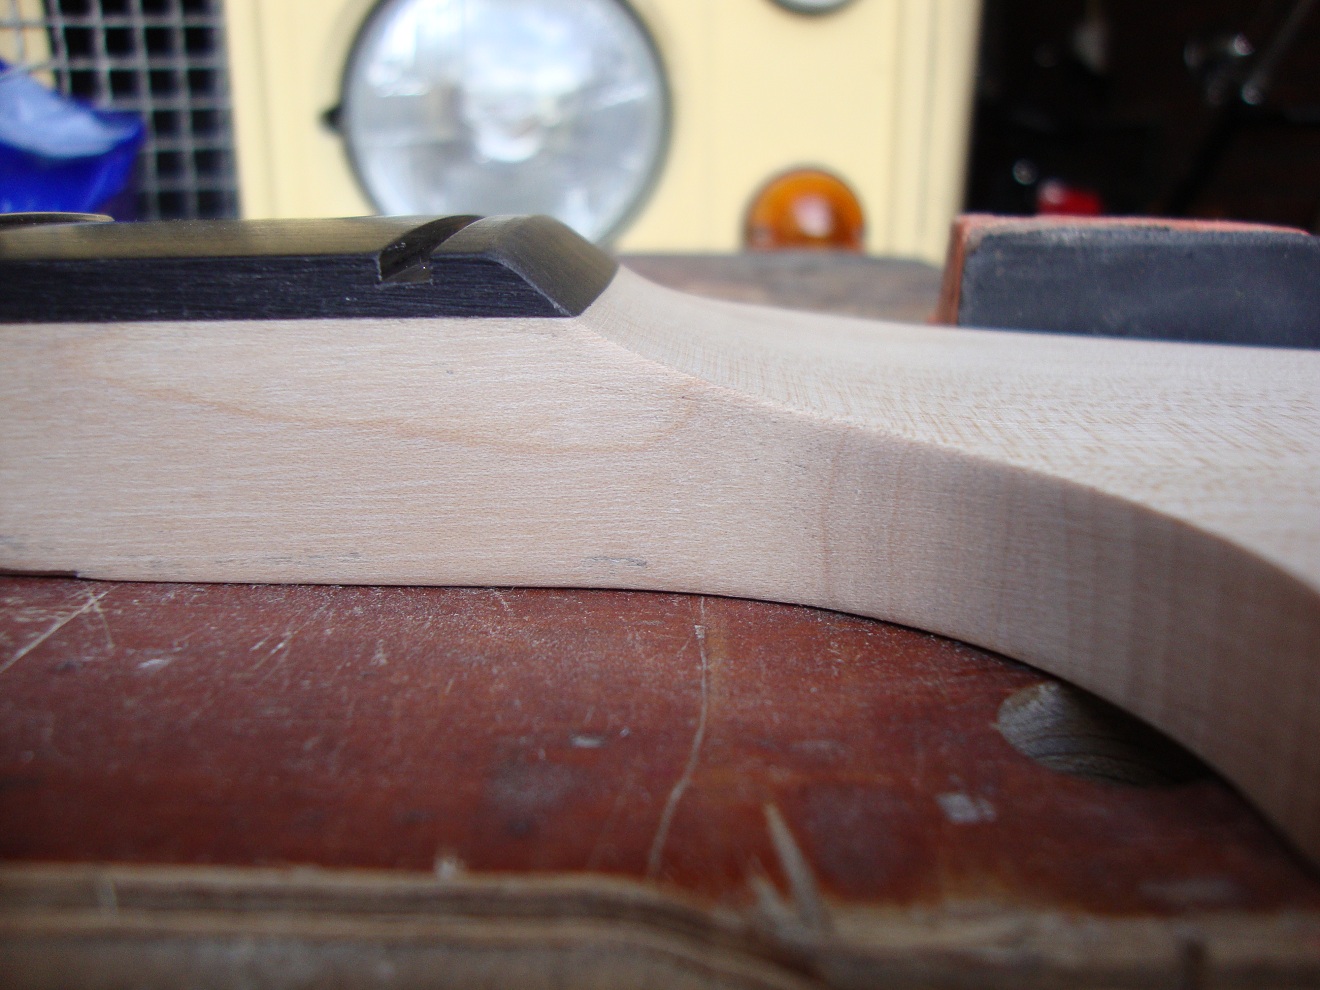
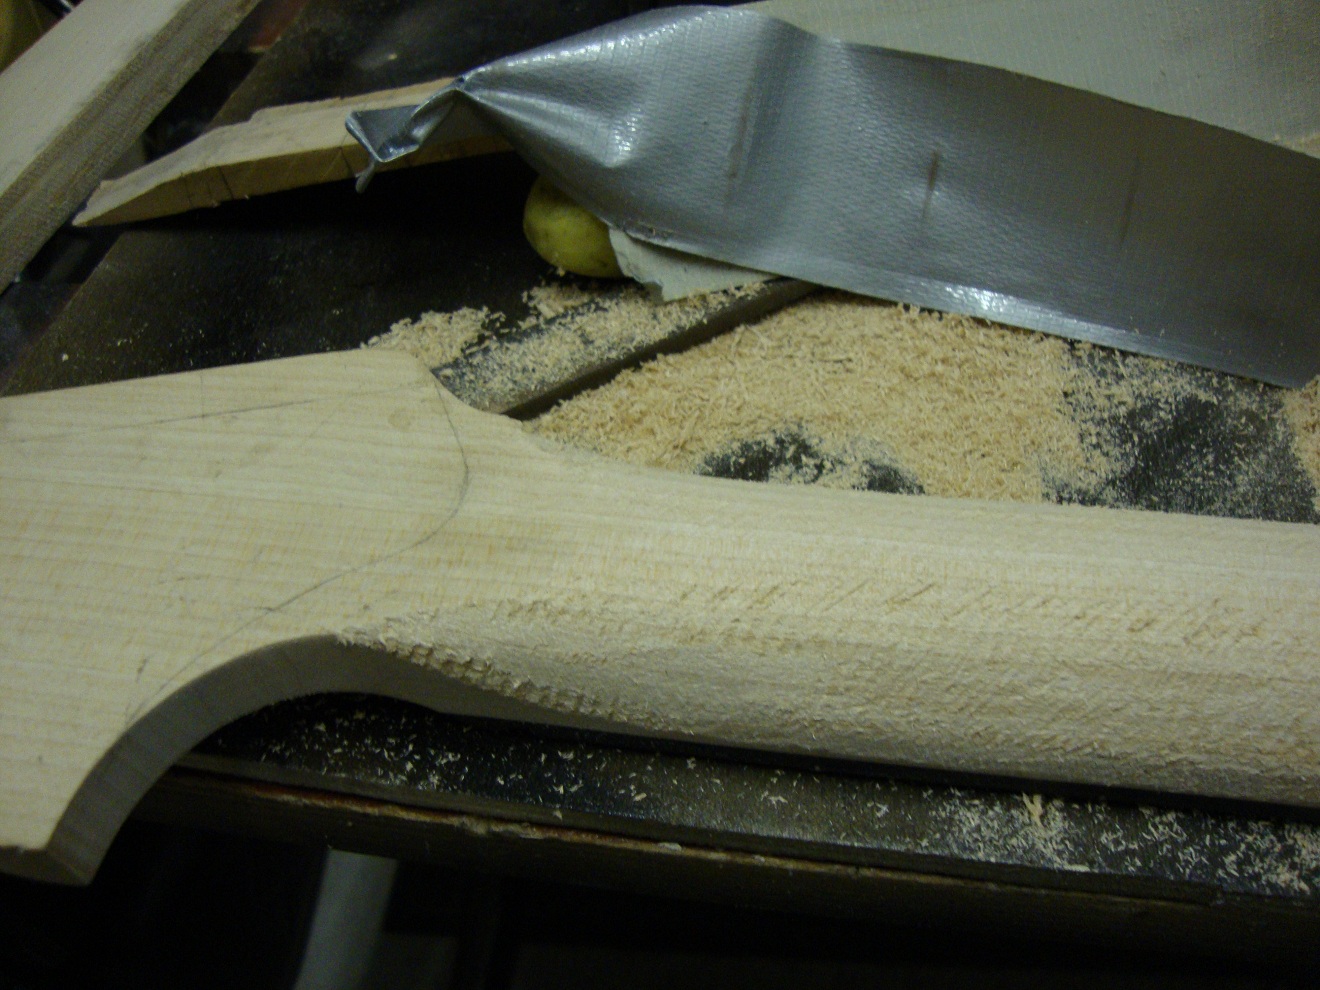
And the curve from the fretboard to the headstock is ready.
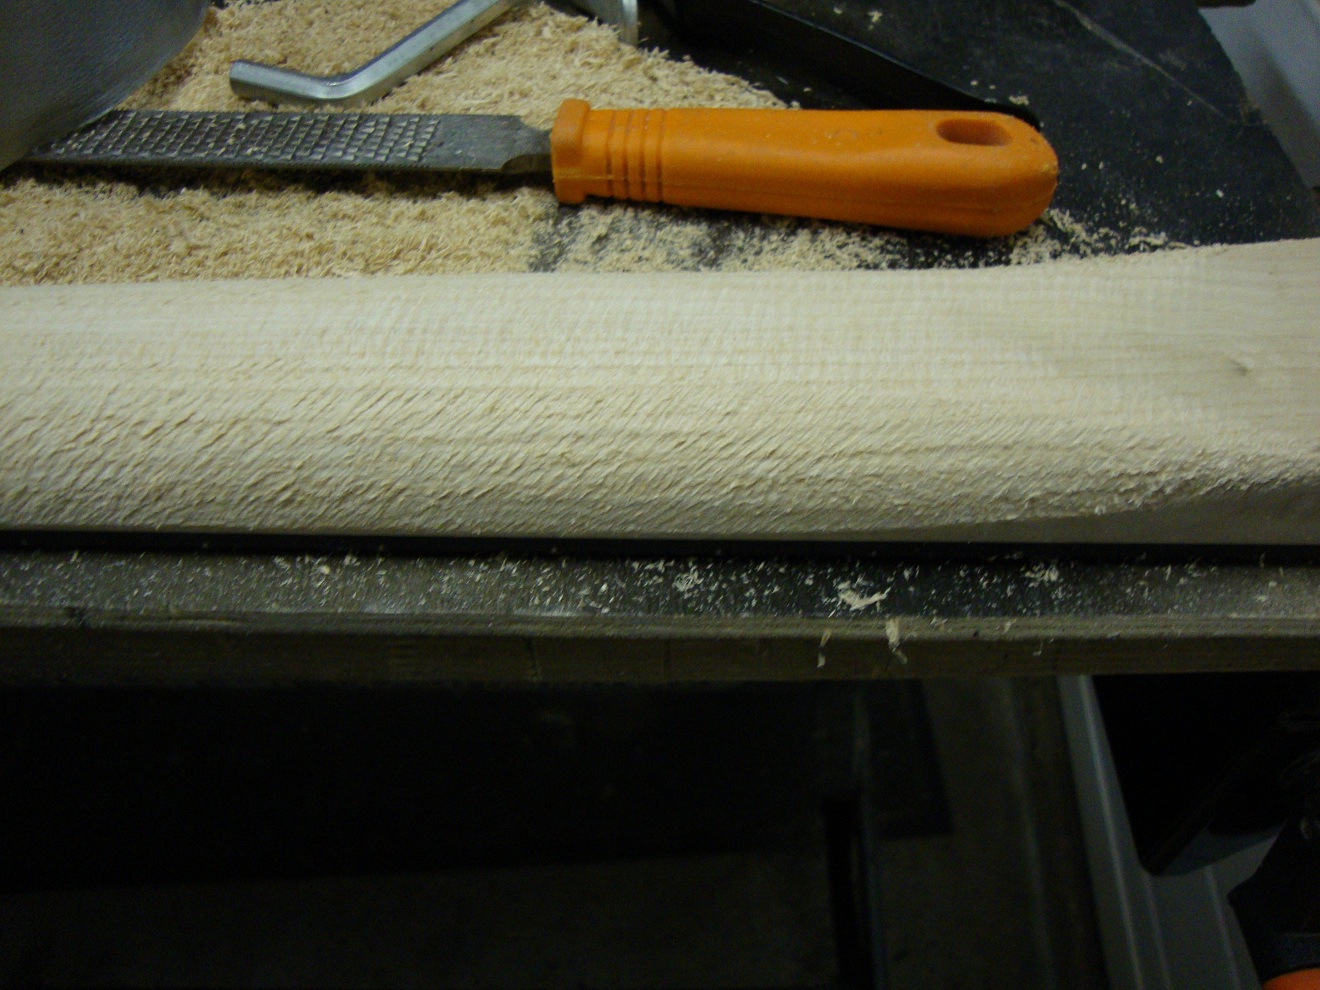
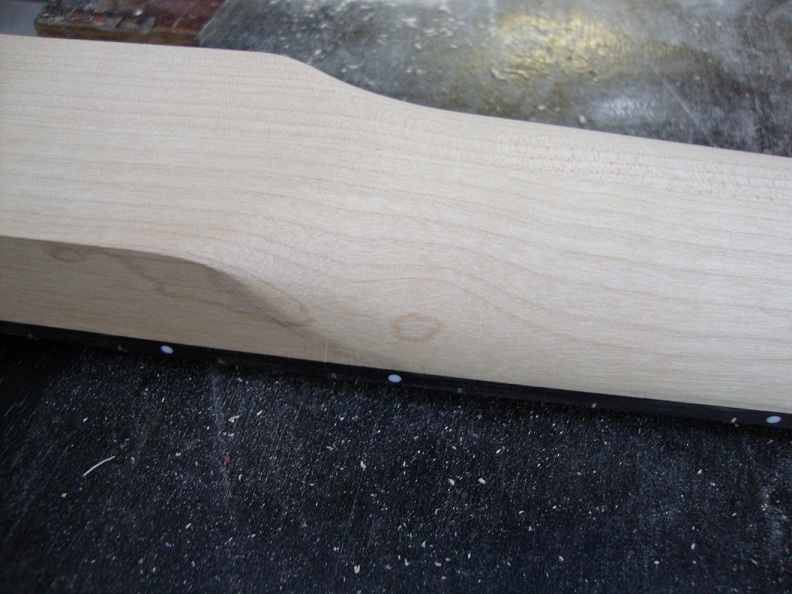
Let's continue with the profile of the neck using rasp, file and sanding blocks.
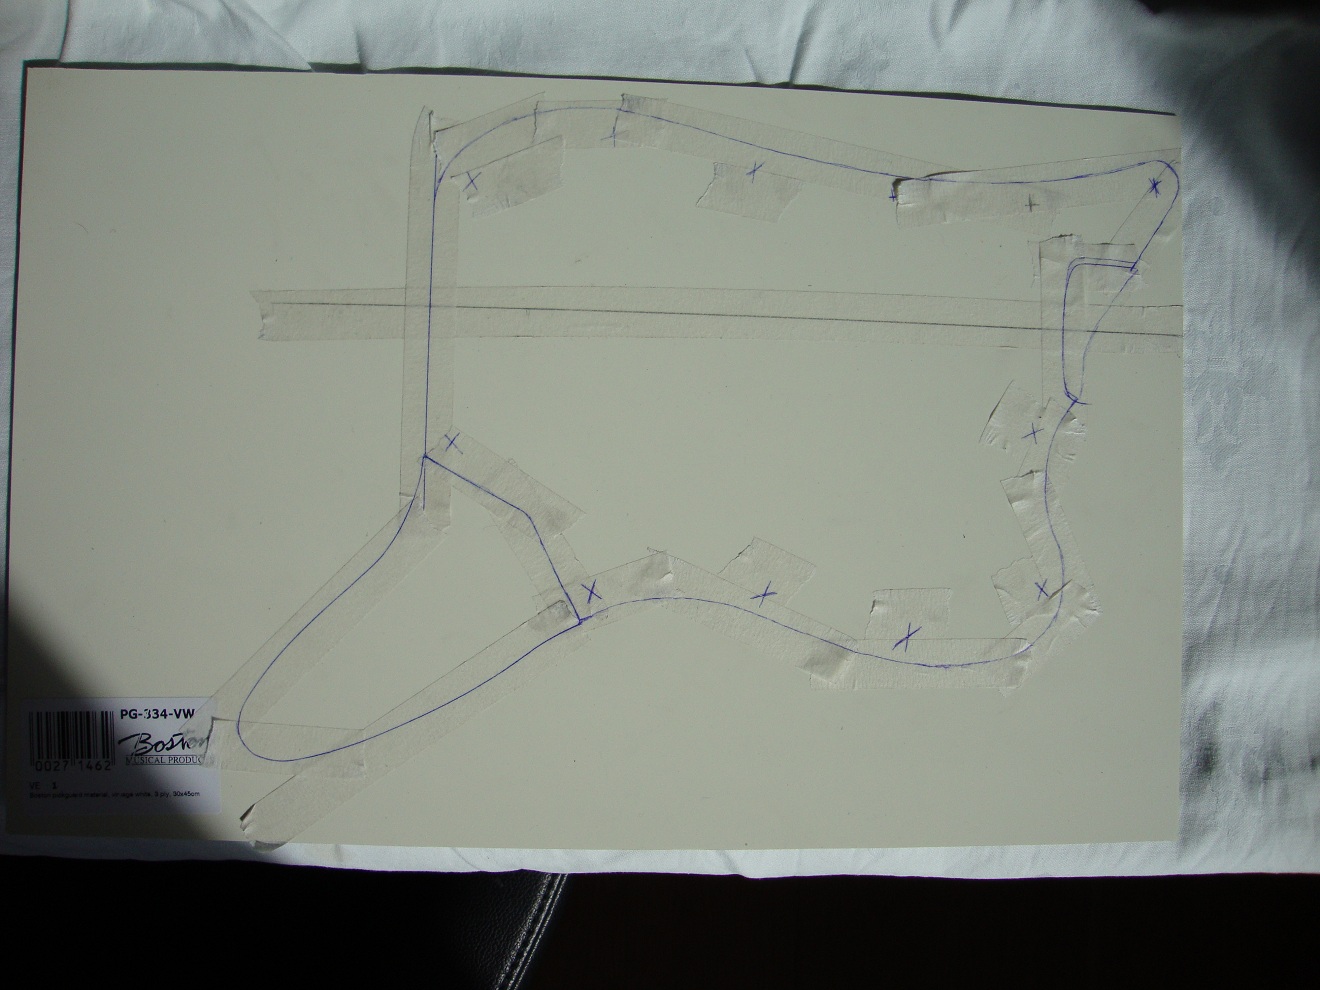
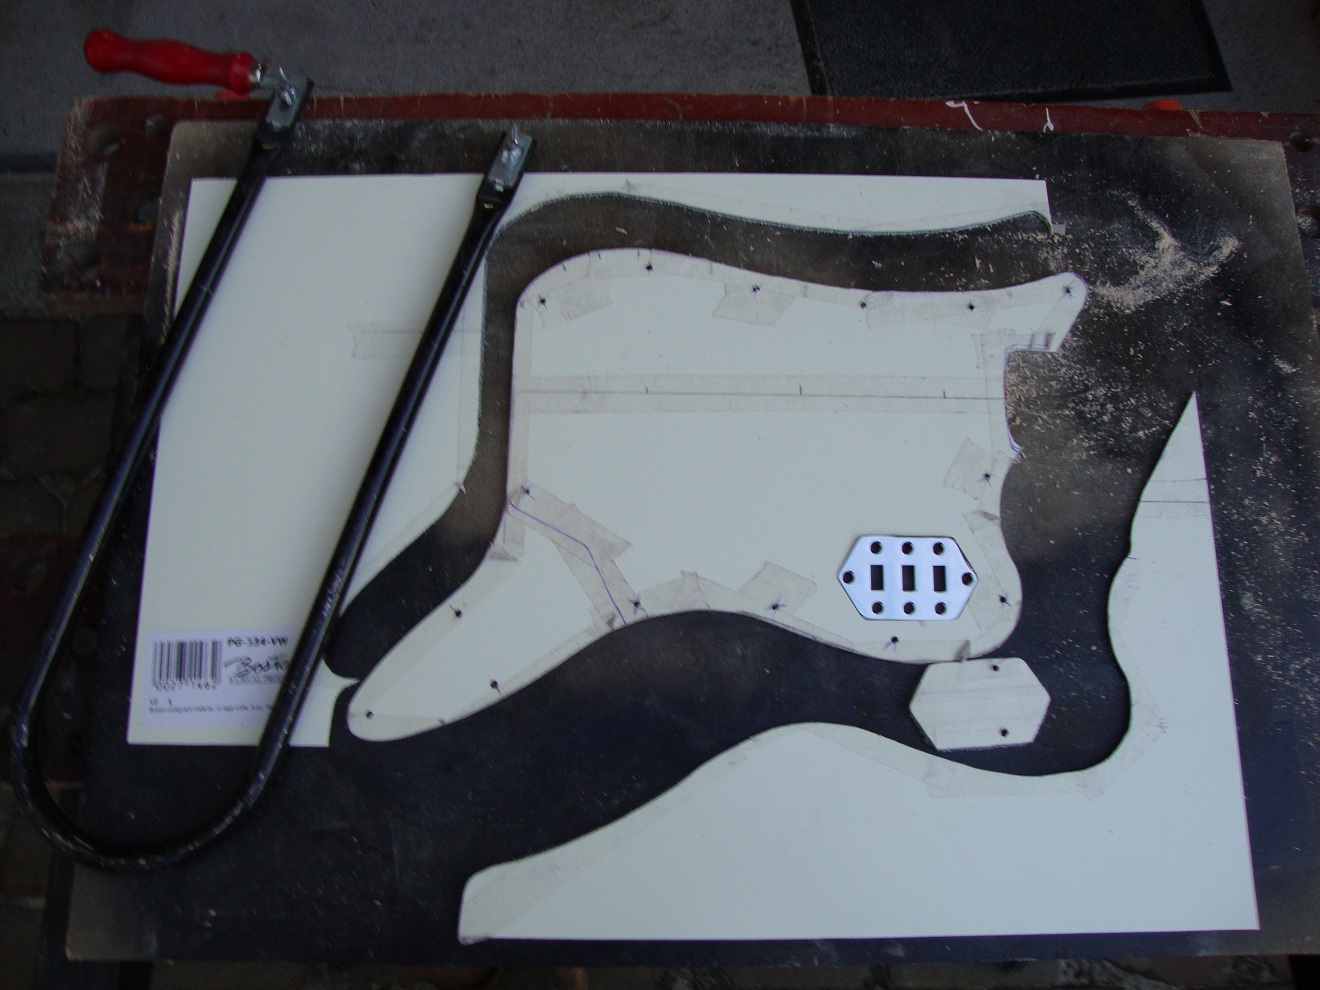
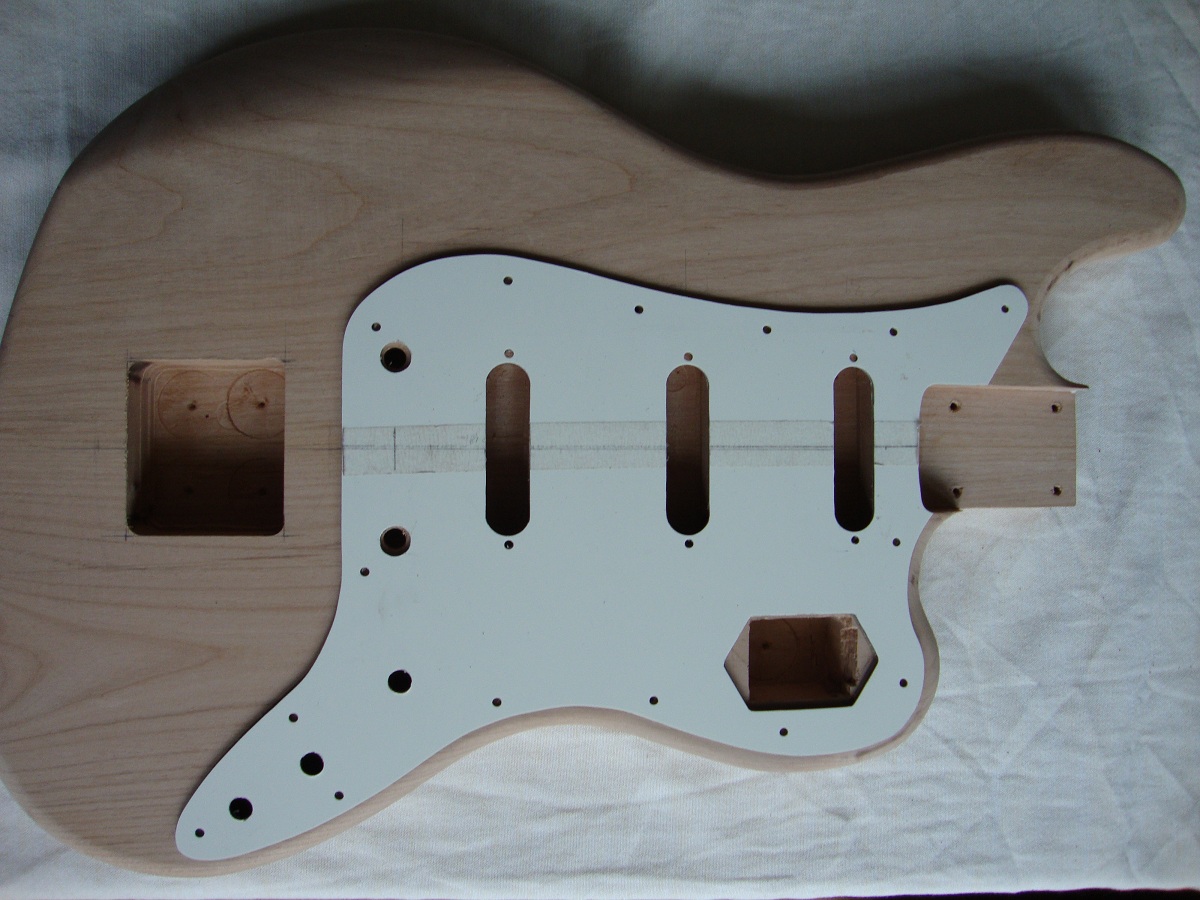
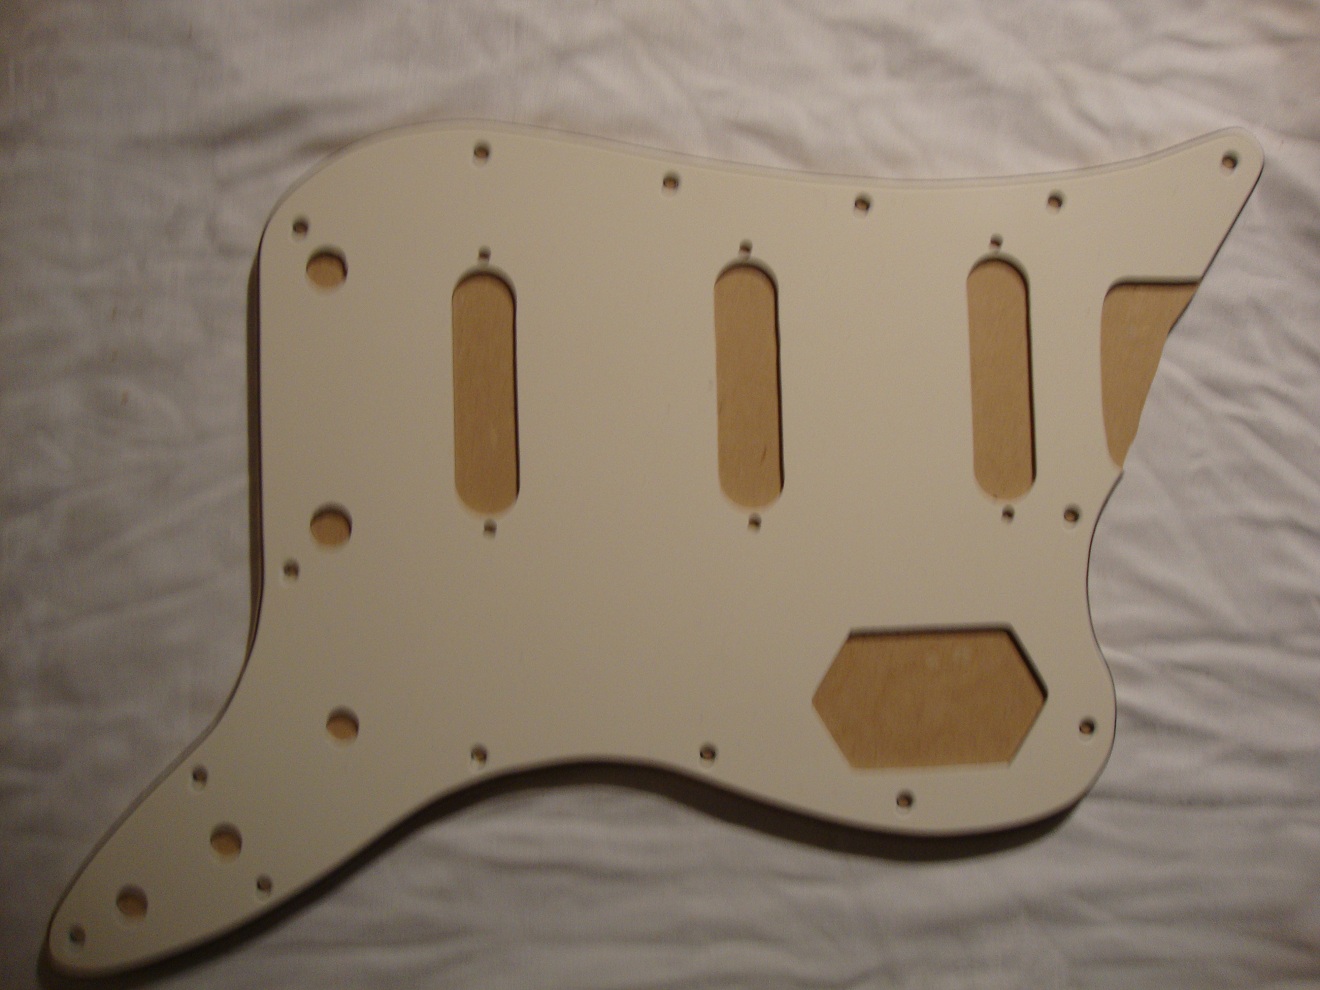
Meanwhile I can start with the pickguard (3-ply vintage white).
And using the jigsaw, this is the result.
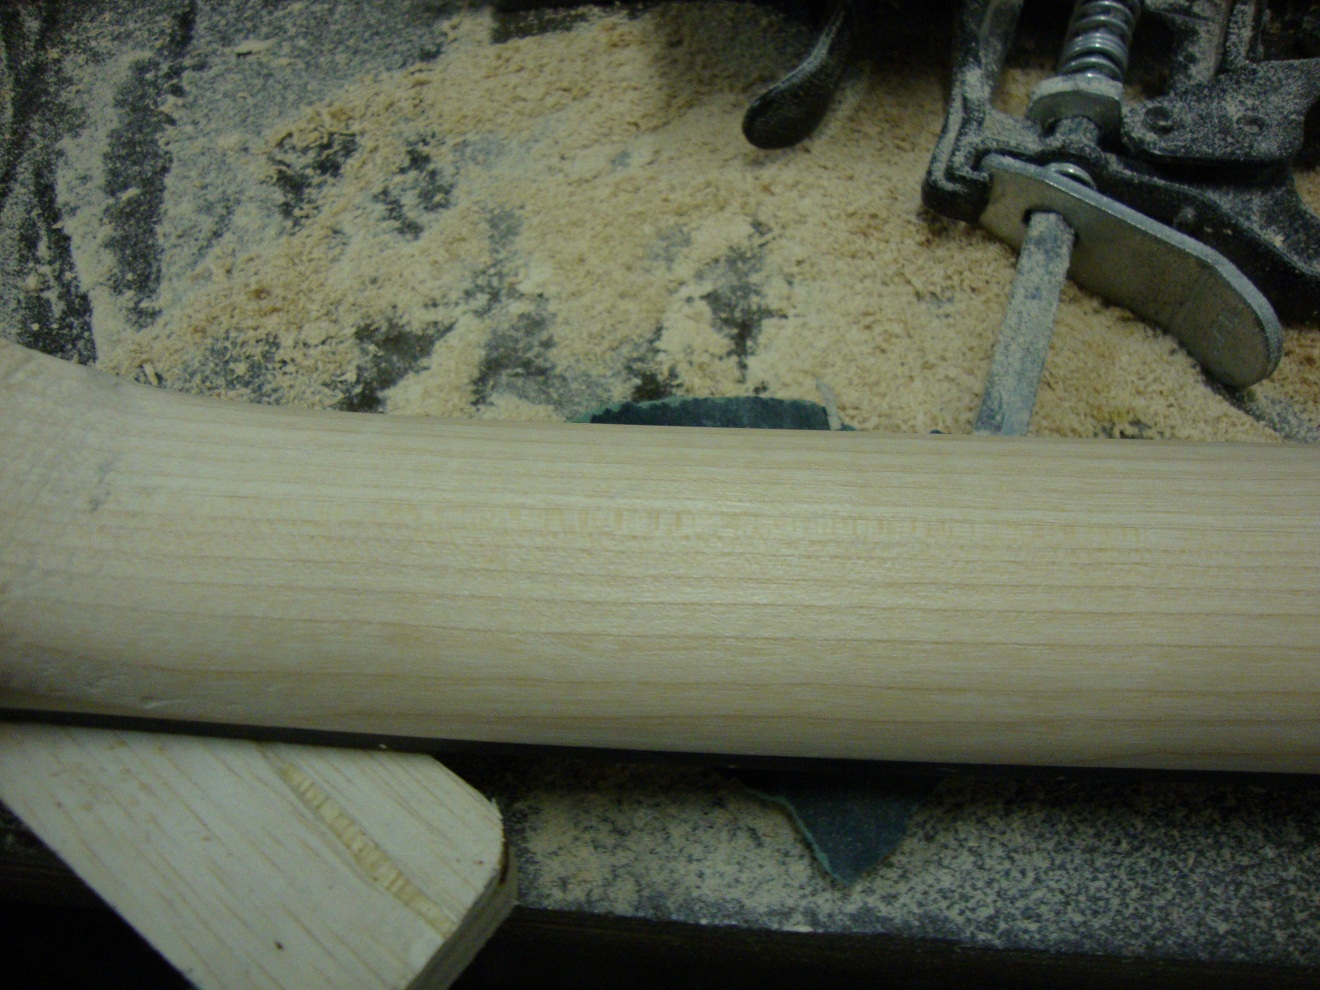
And some work on the neck...
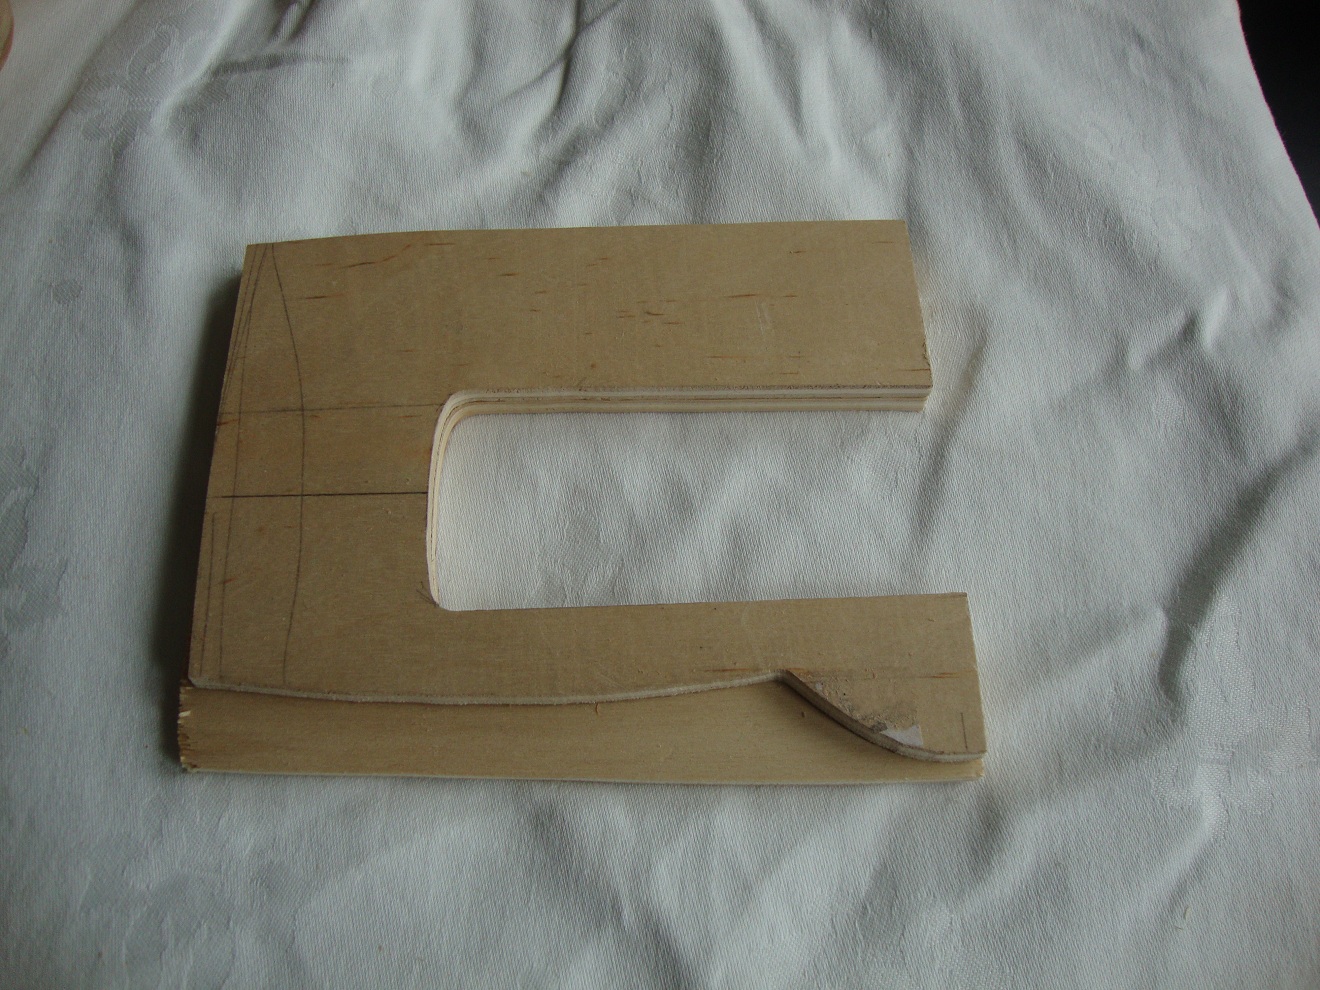
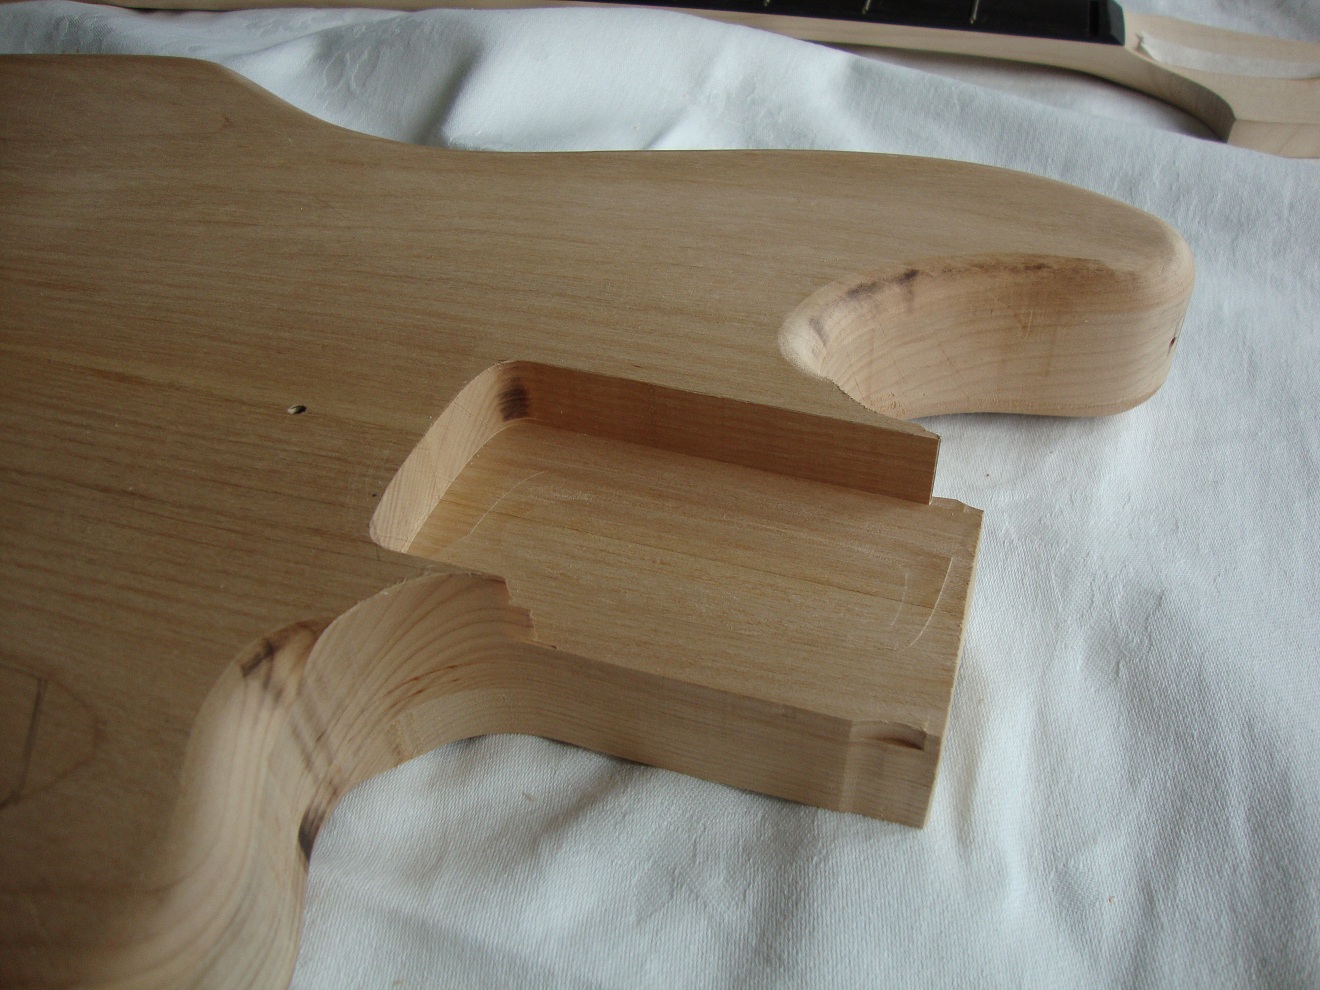
The template I made for the neck pocket.
I taped the template with double sided tape to the body. Then time for the router. Before.....
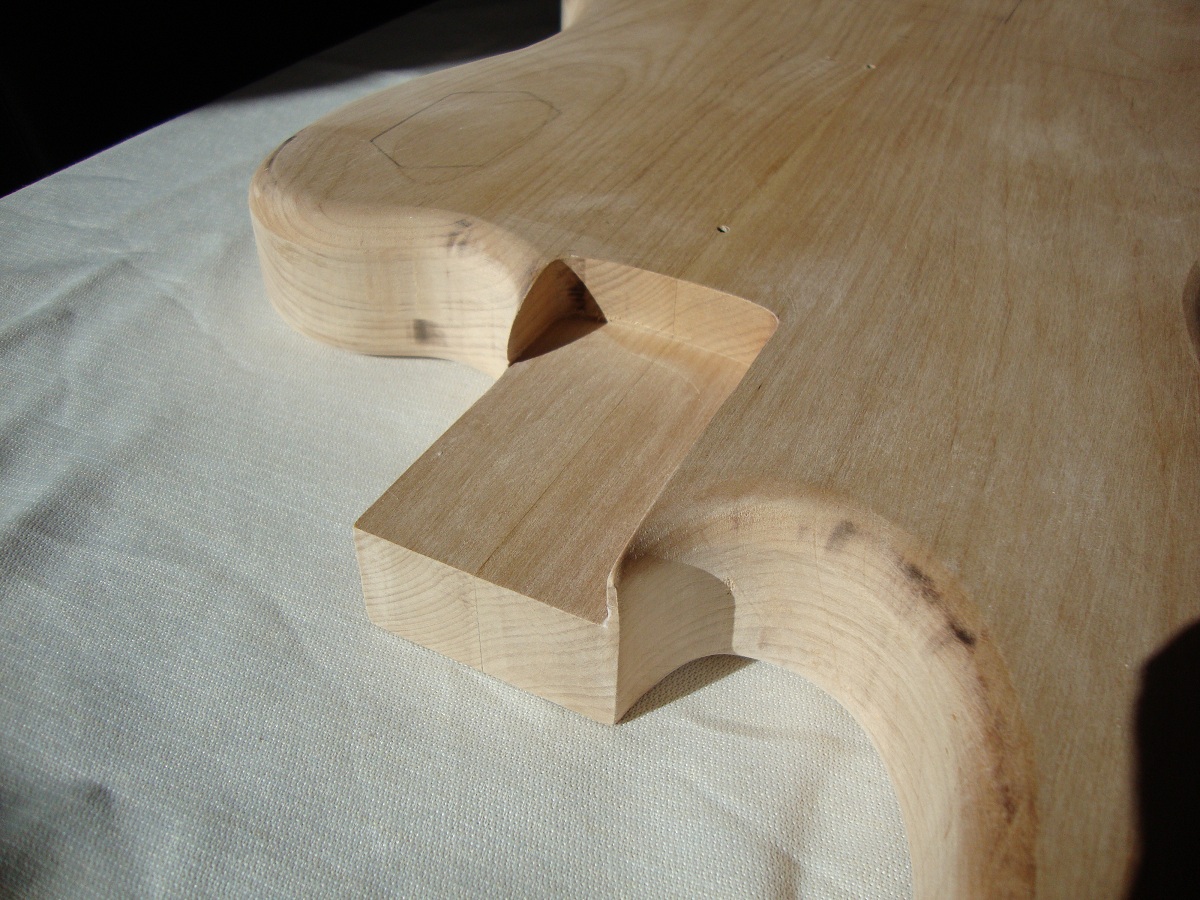
And after....
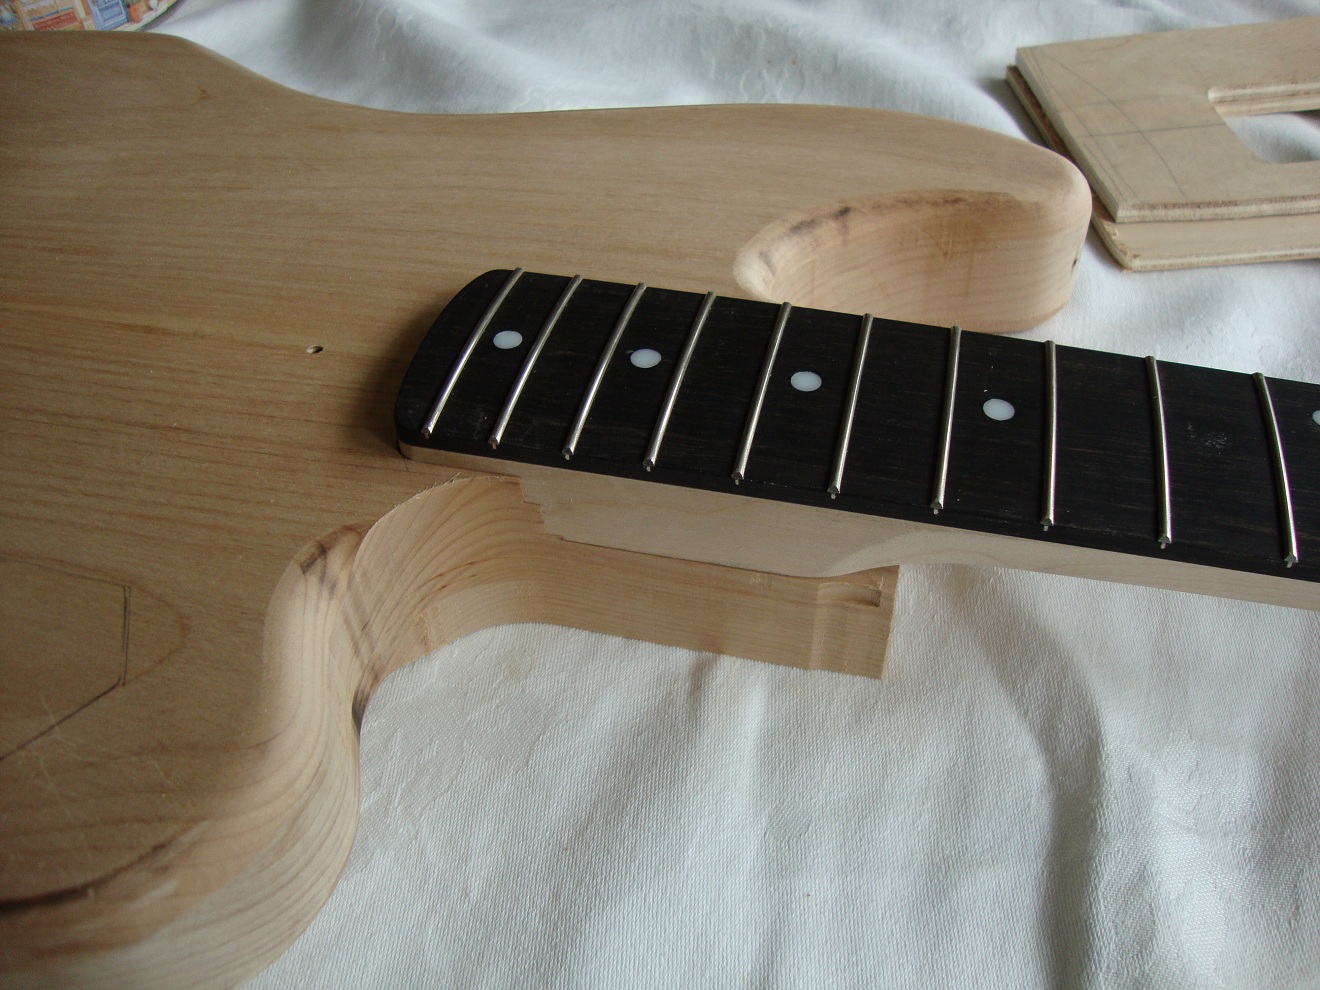
And body and neck for the first time together.
Next, some details on the neckpocket.
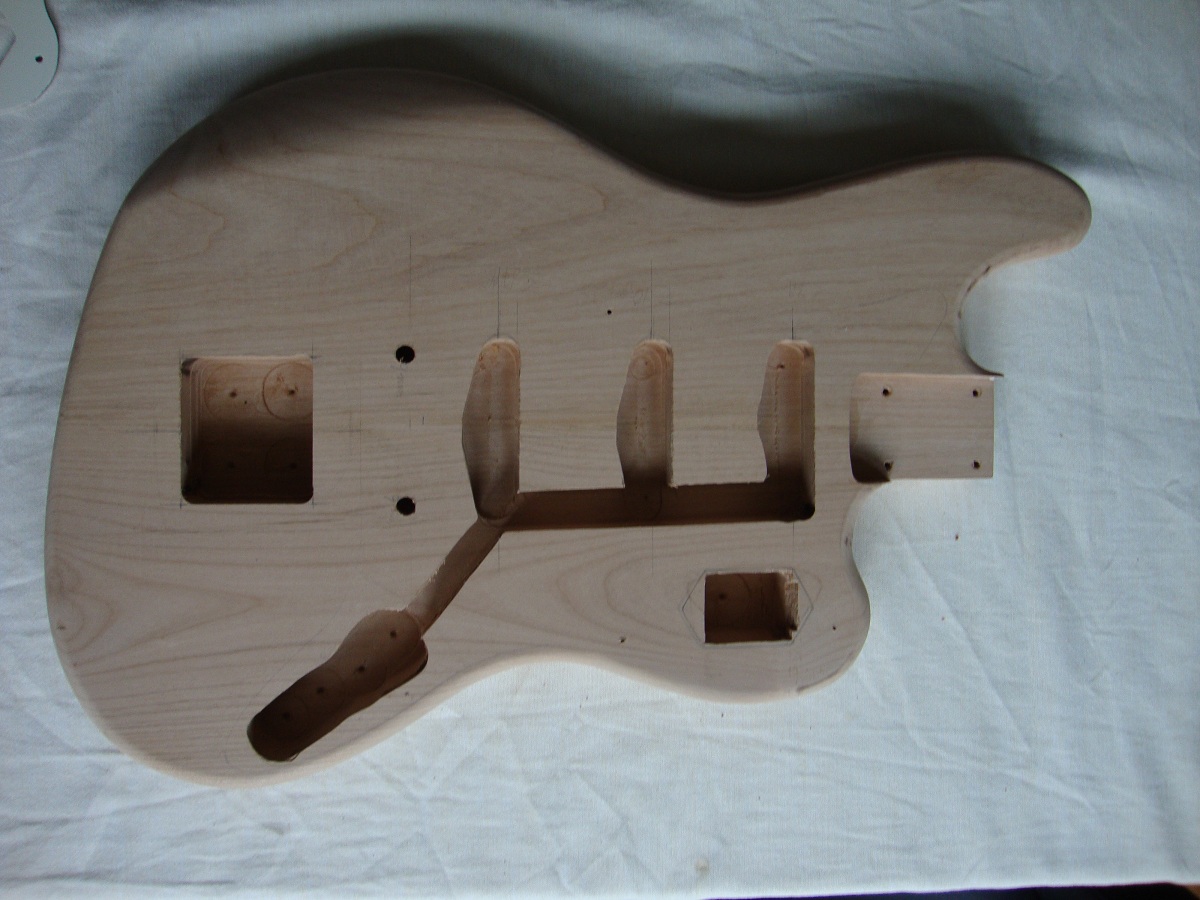
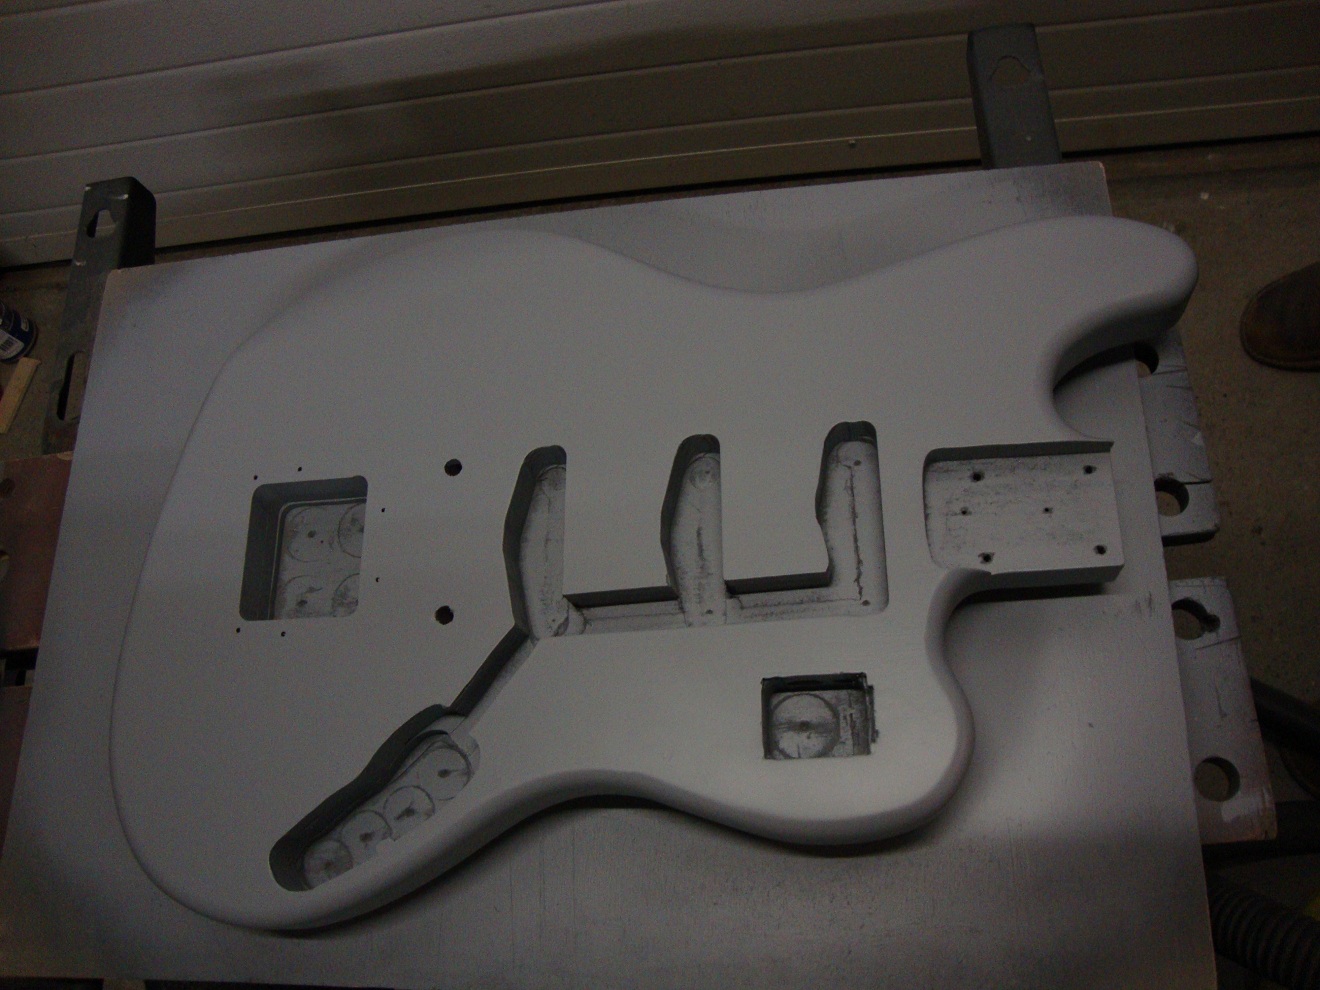
Time for the router to make the cavities for the pickups, switches, termelo, etc....
... and extra holes in the pickguard.
FONT SIZE="5" COLOR="#FFFFFF" FACE="Arial">The neck already has been sprayed with clear coat and I added my logo (decal) on the headstock. Vintage tuners installed.
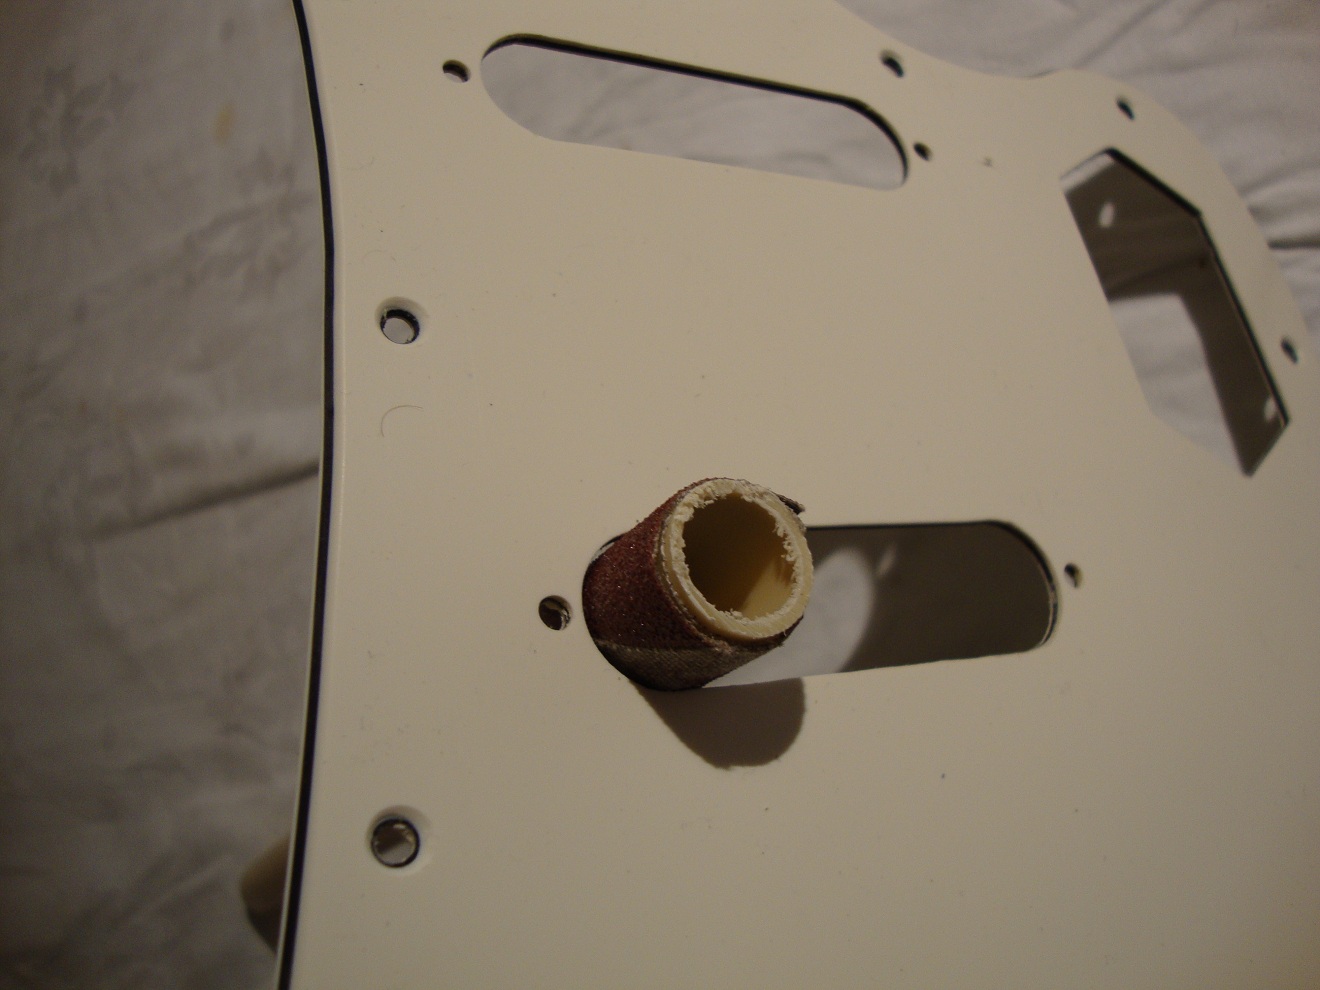
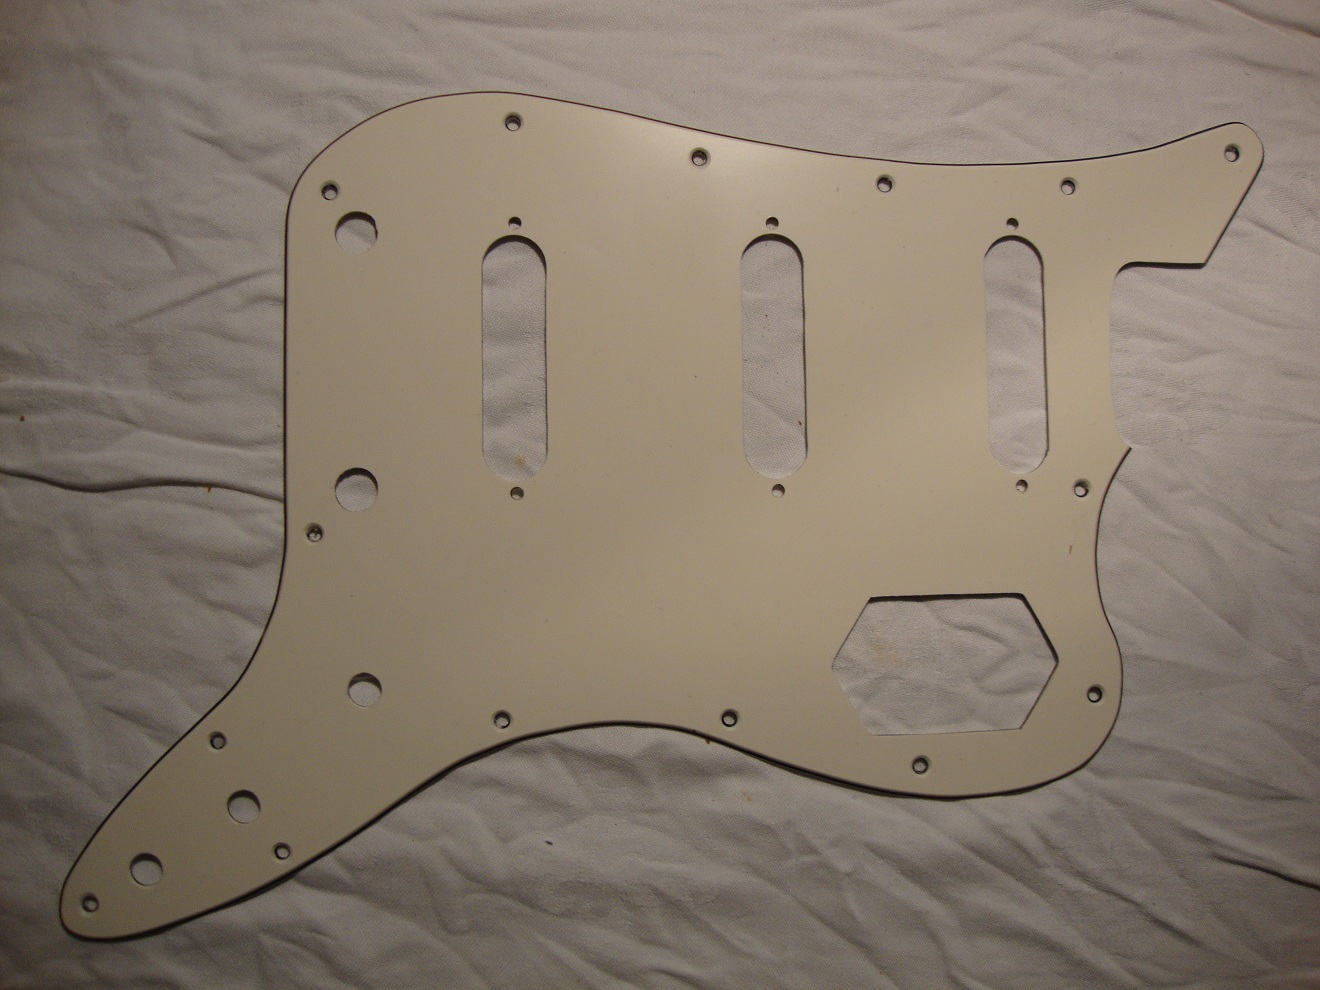
To make the holes for the pickups in the pickguard to be perfect, I made a tool. A pvc pipe, normally used for electrical wiring and some sanding paper attached to the pipe with double sided tape.
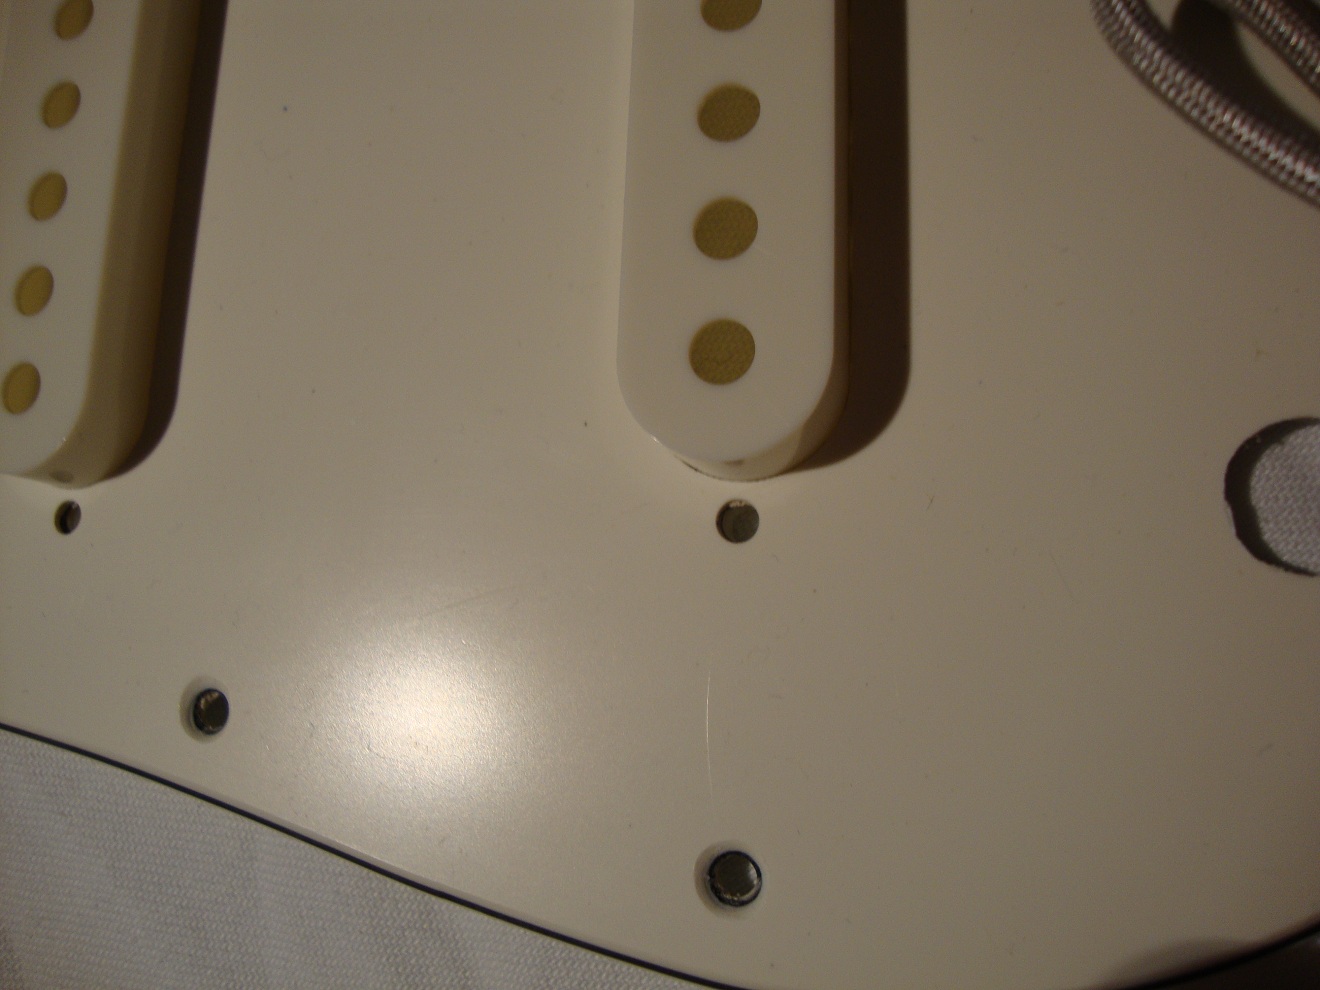
The result ...
To make the 45 degree angle on the side of the pickguard, I made a template of MDF to guide the router.
The body is ready for painting. First the primer (acrylic lacquer). So a couple of rattle cans leads to this.
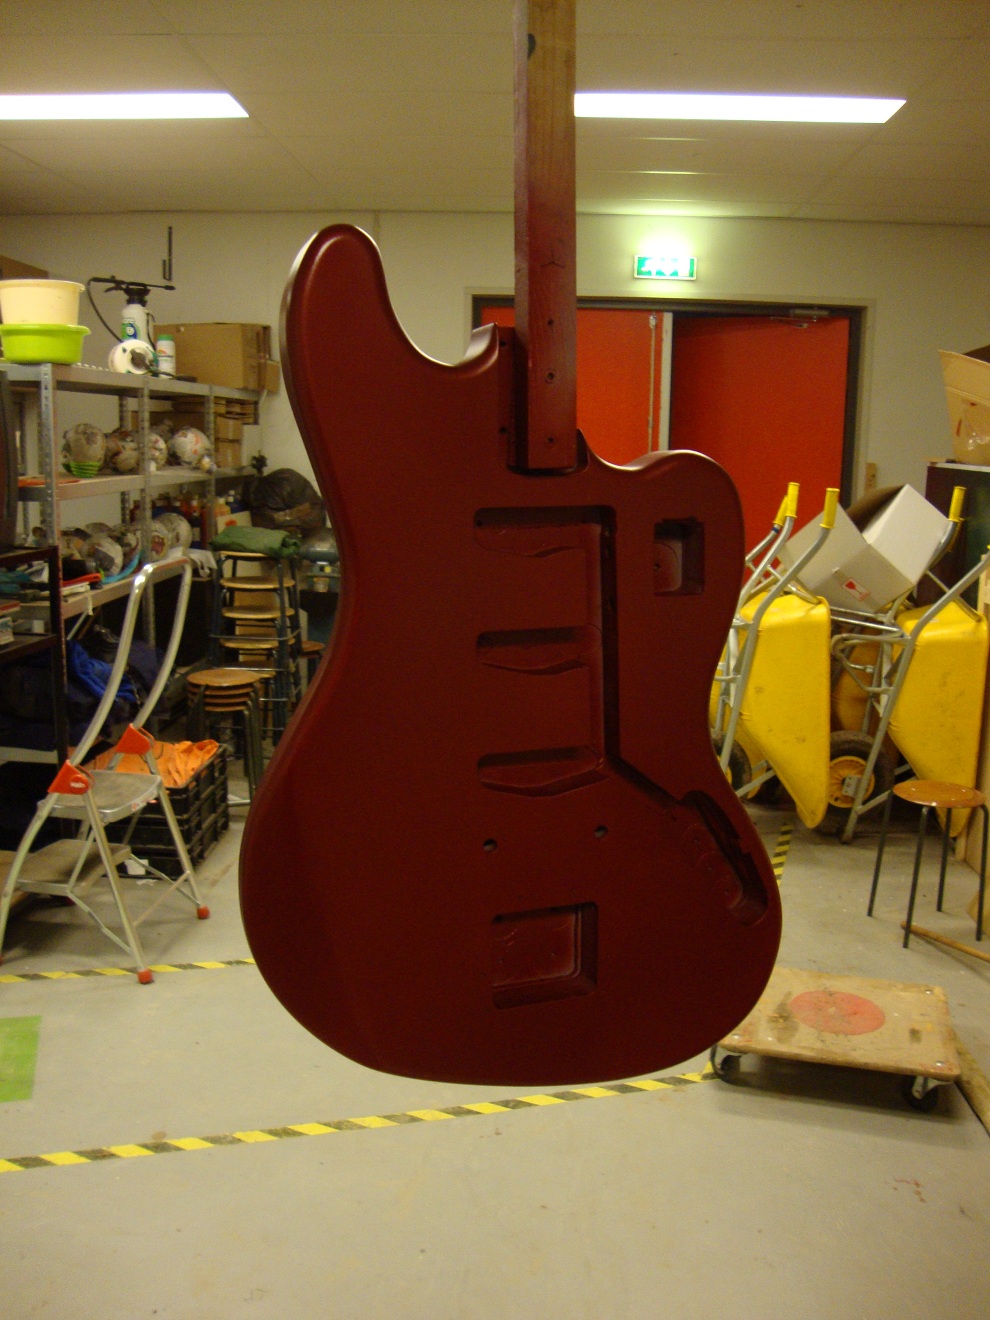
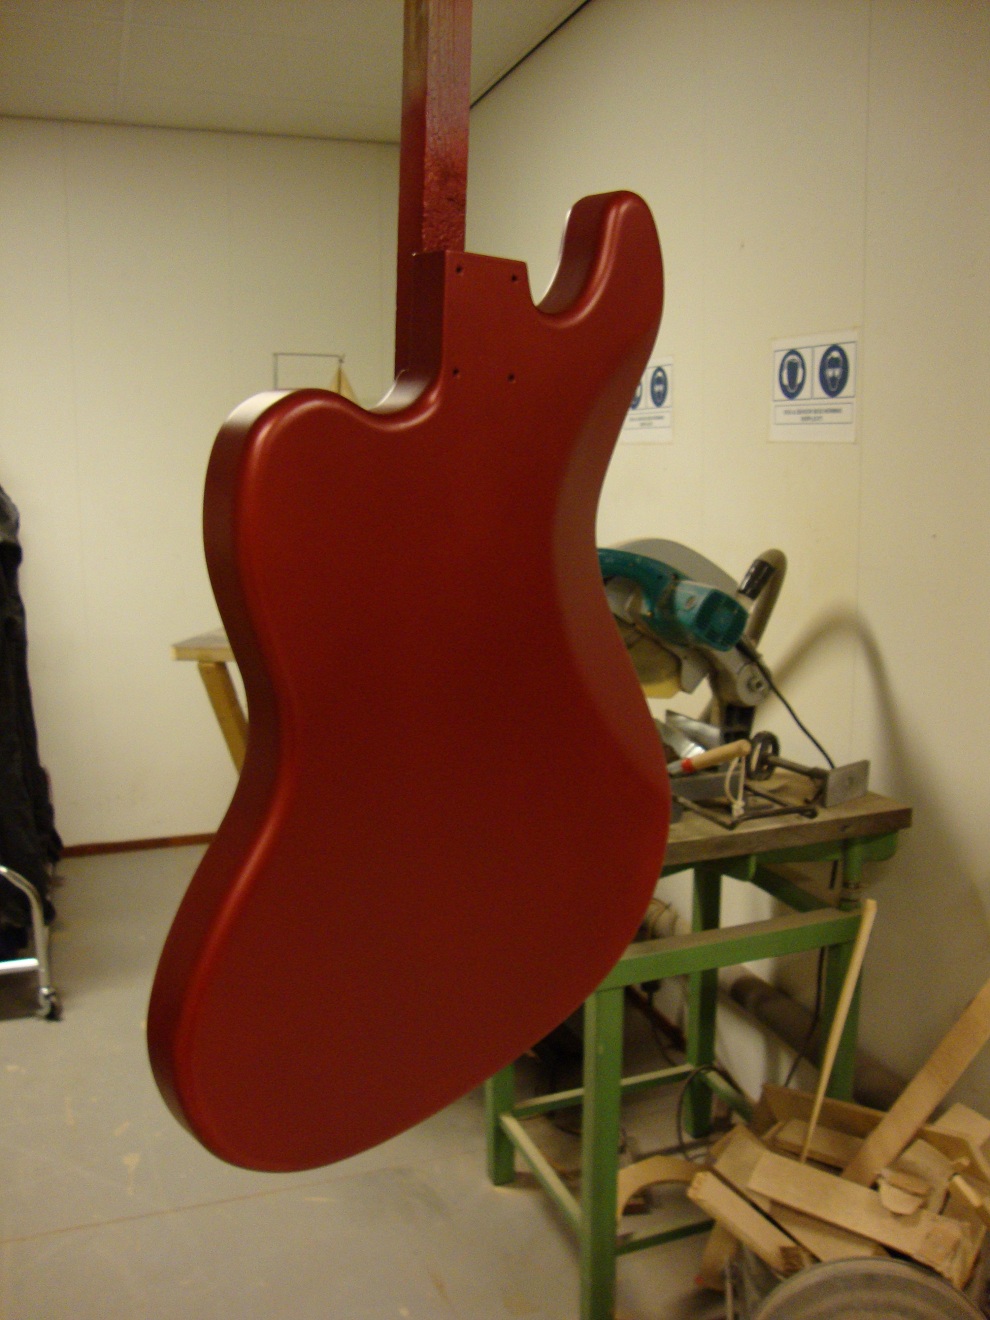
And with the Candy Apple Red applied it is much better!!! No clear coat yet, with clear coat it will be perfect.
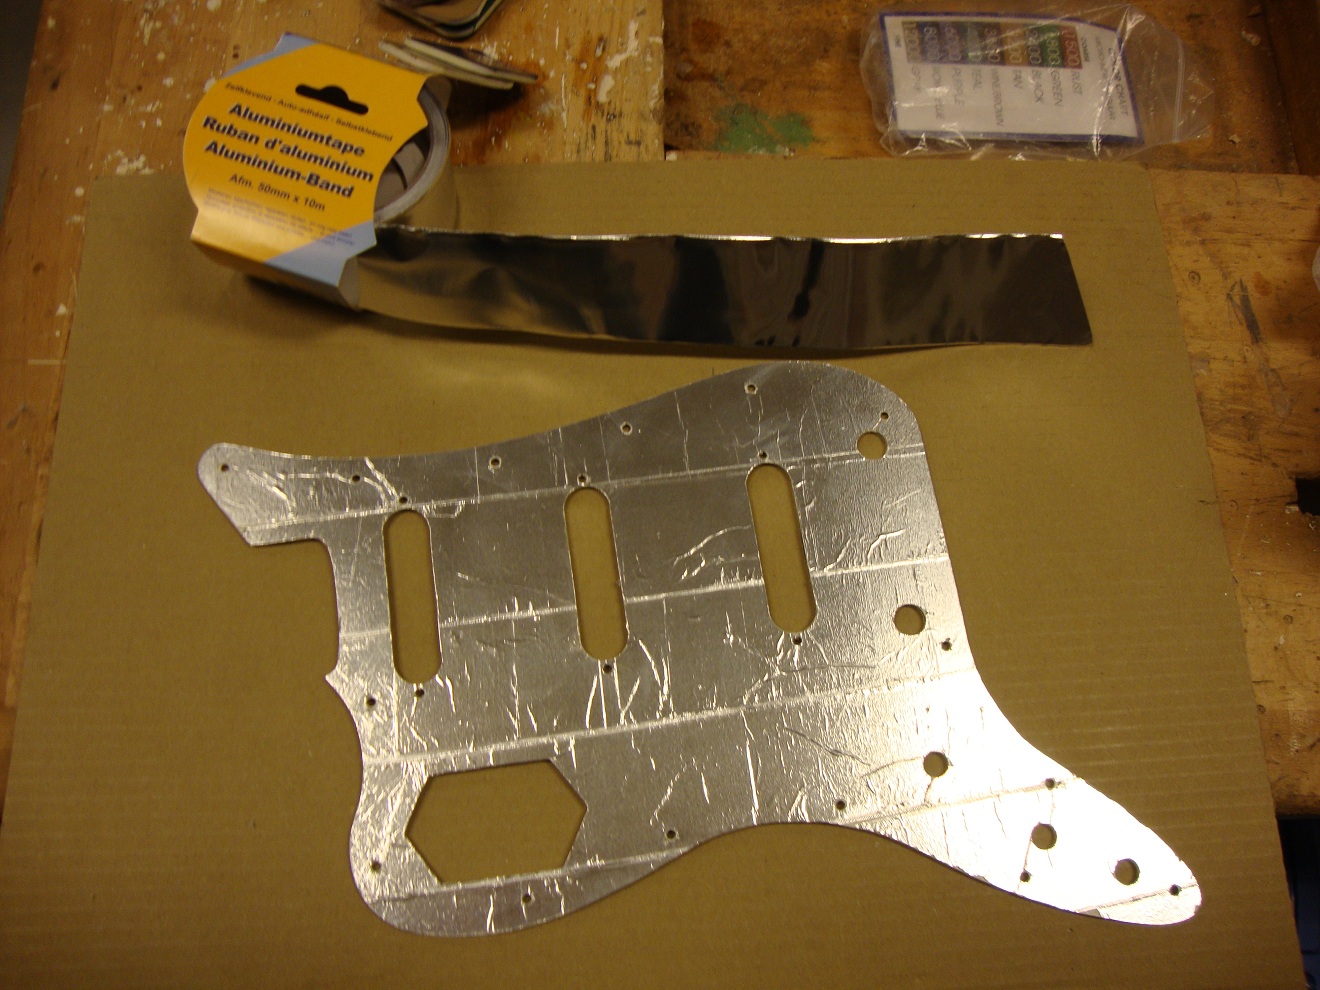
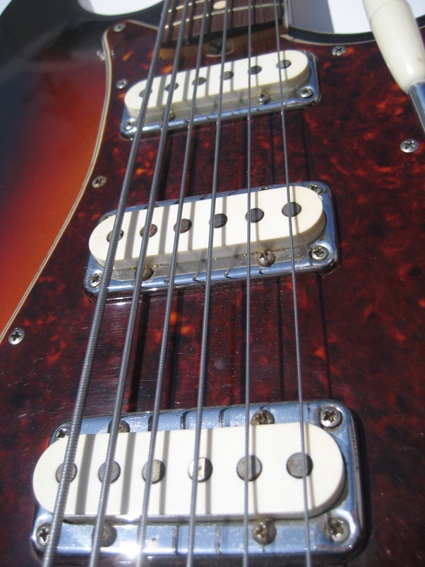
To prevent buzzing and humming, aluminiumtape is applied at the back of the pickguard.
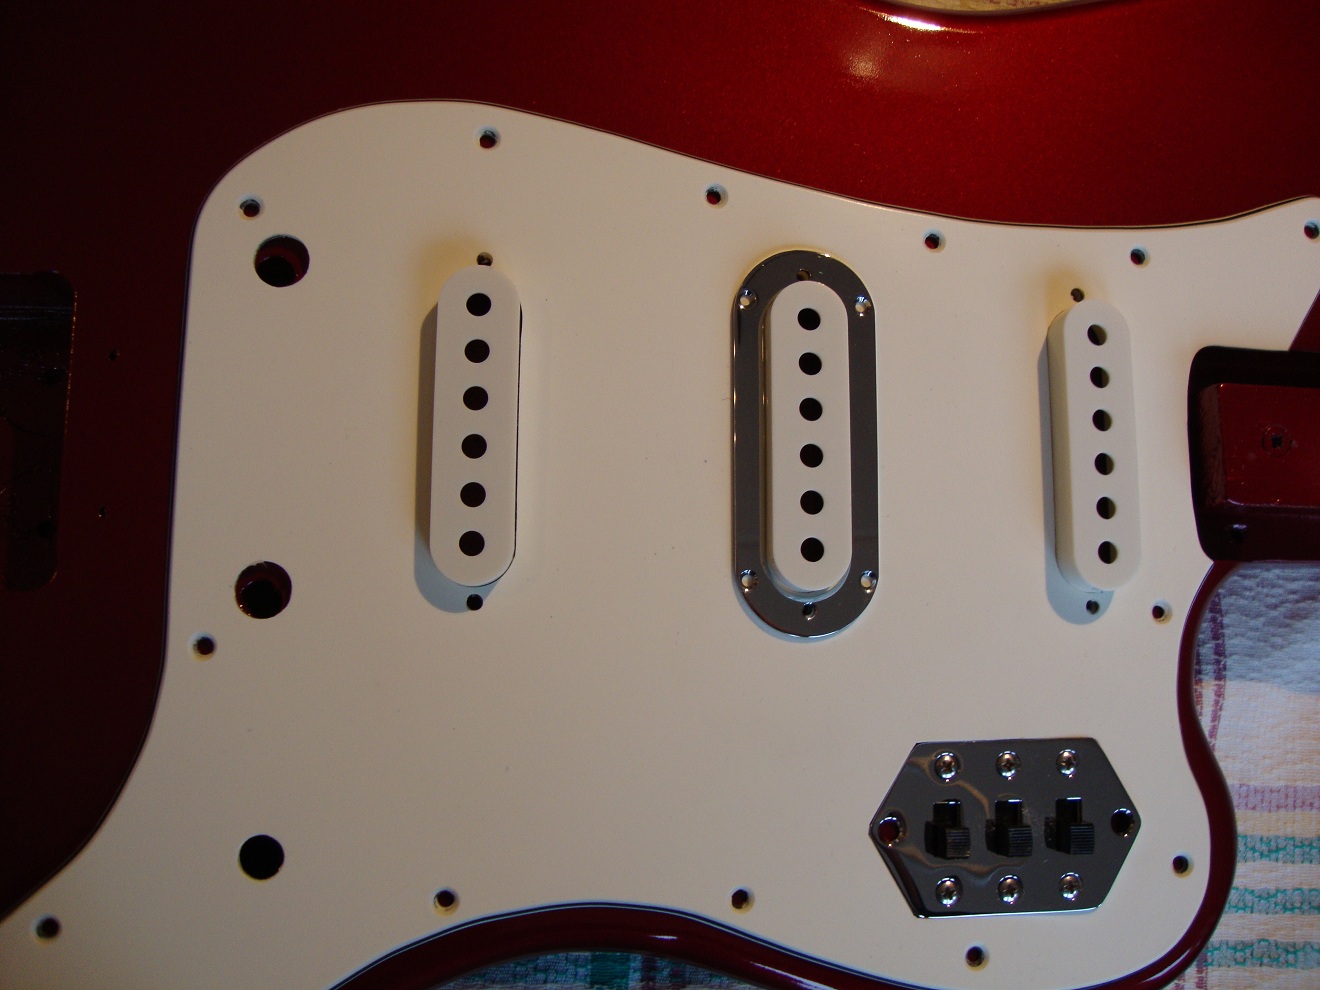
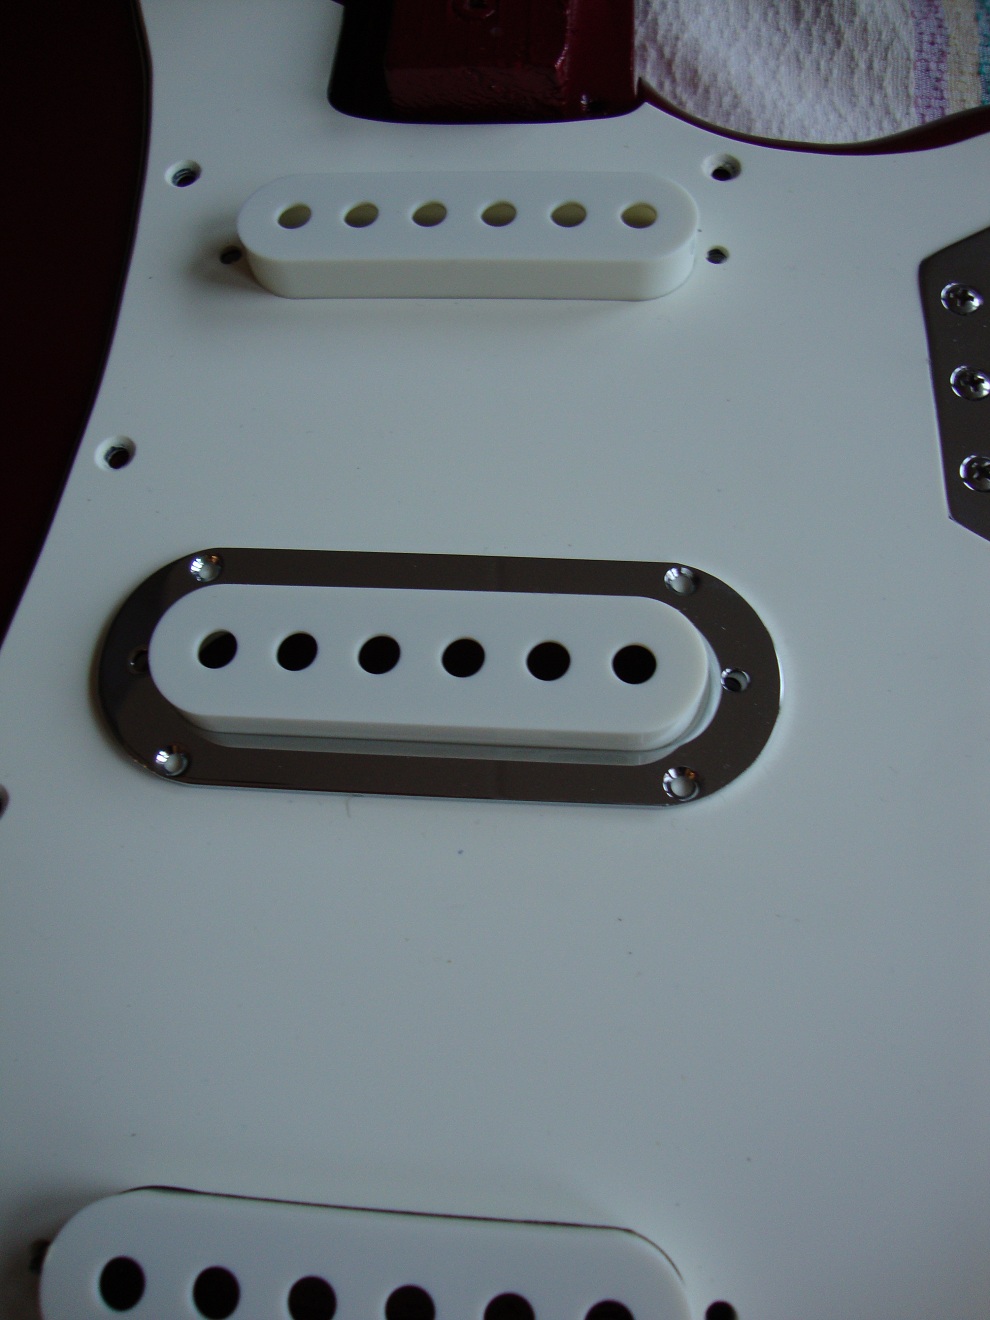
A dilemma, should I use pickup rings like the early bass VI's or not?
Almost ready, sounds great, looks great!
More to come..